
Ingredients
Scale
- ½ cup (132g) sunflower butter
- 1/4 cup (68g) vegan soy free butter, room temperature
- 1/4 cup (24g) packed brown sugar
- ⅓ cup (67g) granulated sugar
- 2 TB water
- 2 tsp vanilla extract
- 1 tsp olive oil
- 1 tsp cornstarch
- 1 tsp baking powder
- 1 1/8 cup (188g) all purpose gf flour
- ¼ teaspoon salt
- 12–14 No Whey chocolate kisses, OR homemade sun butter Reese’s, OR homemade chocolate candies
- 8oz enjoy life or simple truth dairy free chocolate chips
- 24 Allergy friendly candy eyes
Instructions
- Preheat oven to 350F.
- Cream the sunflower butter, vegan butter, brown sugar, granulated sugar, water, and vanilla together, till smooth.
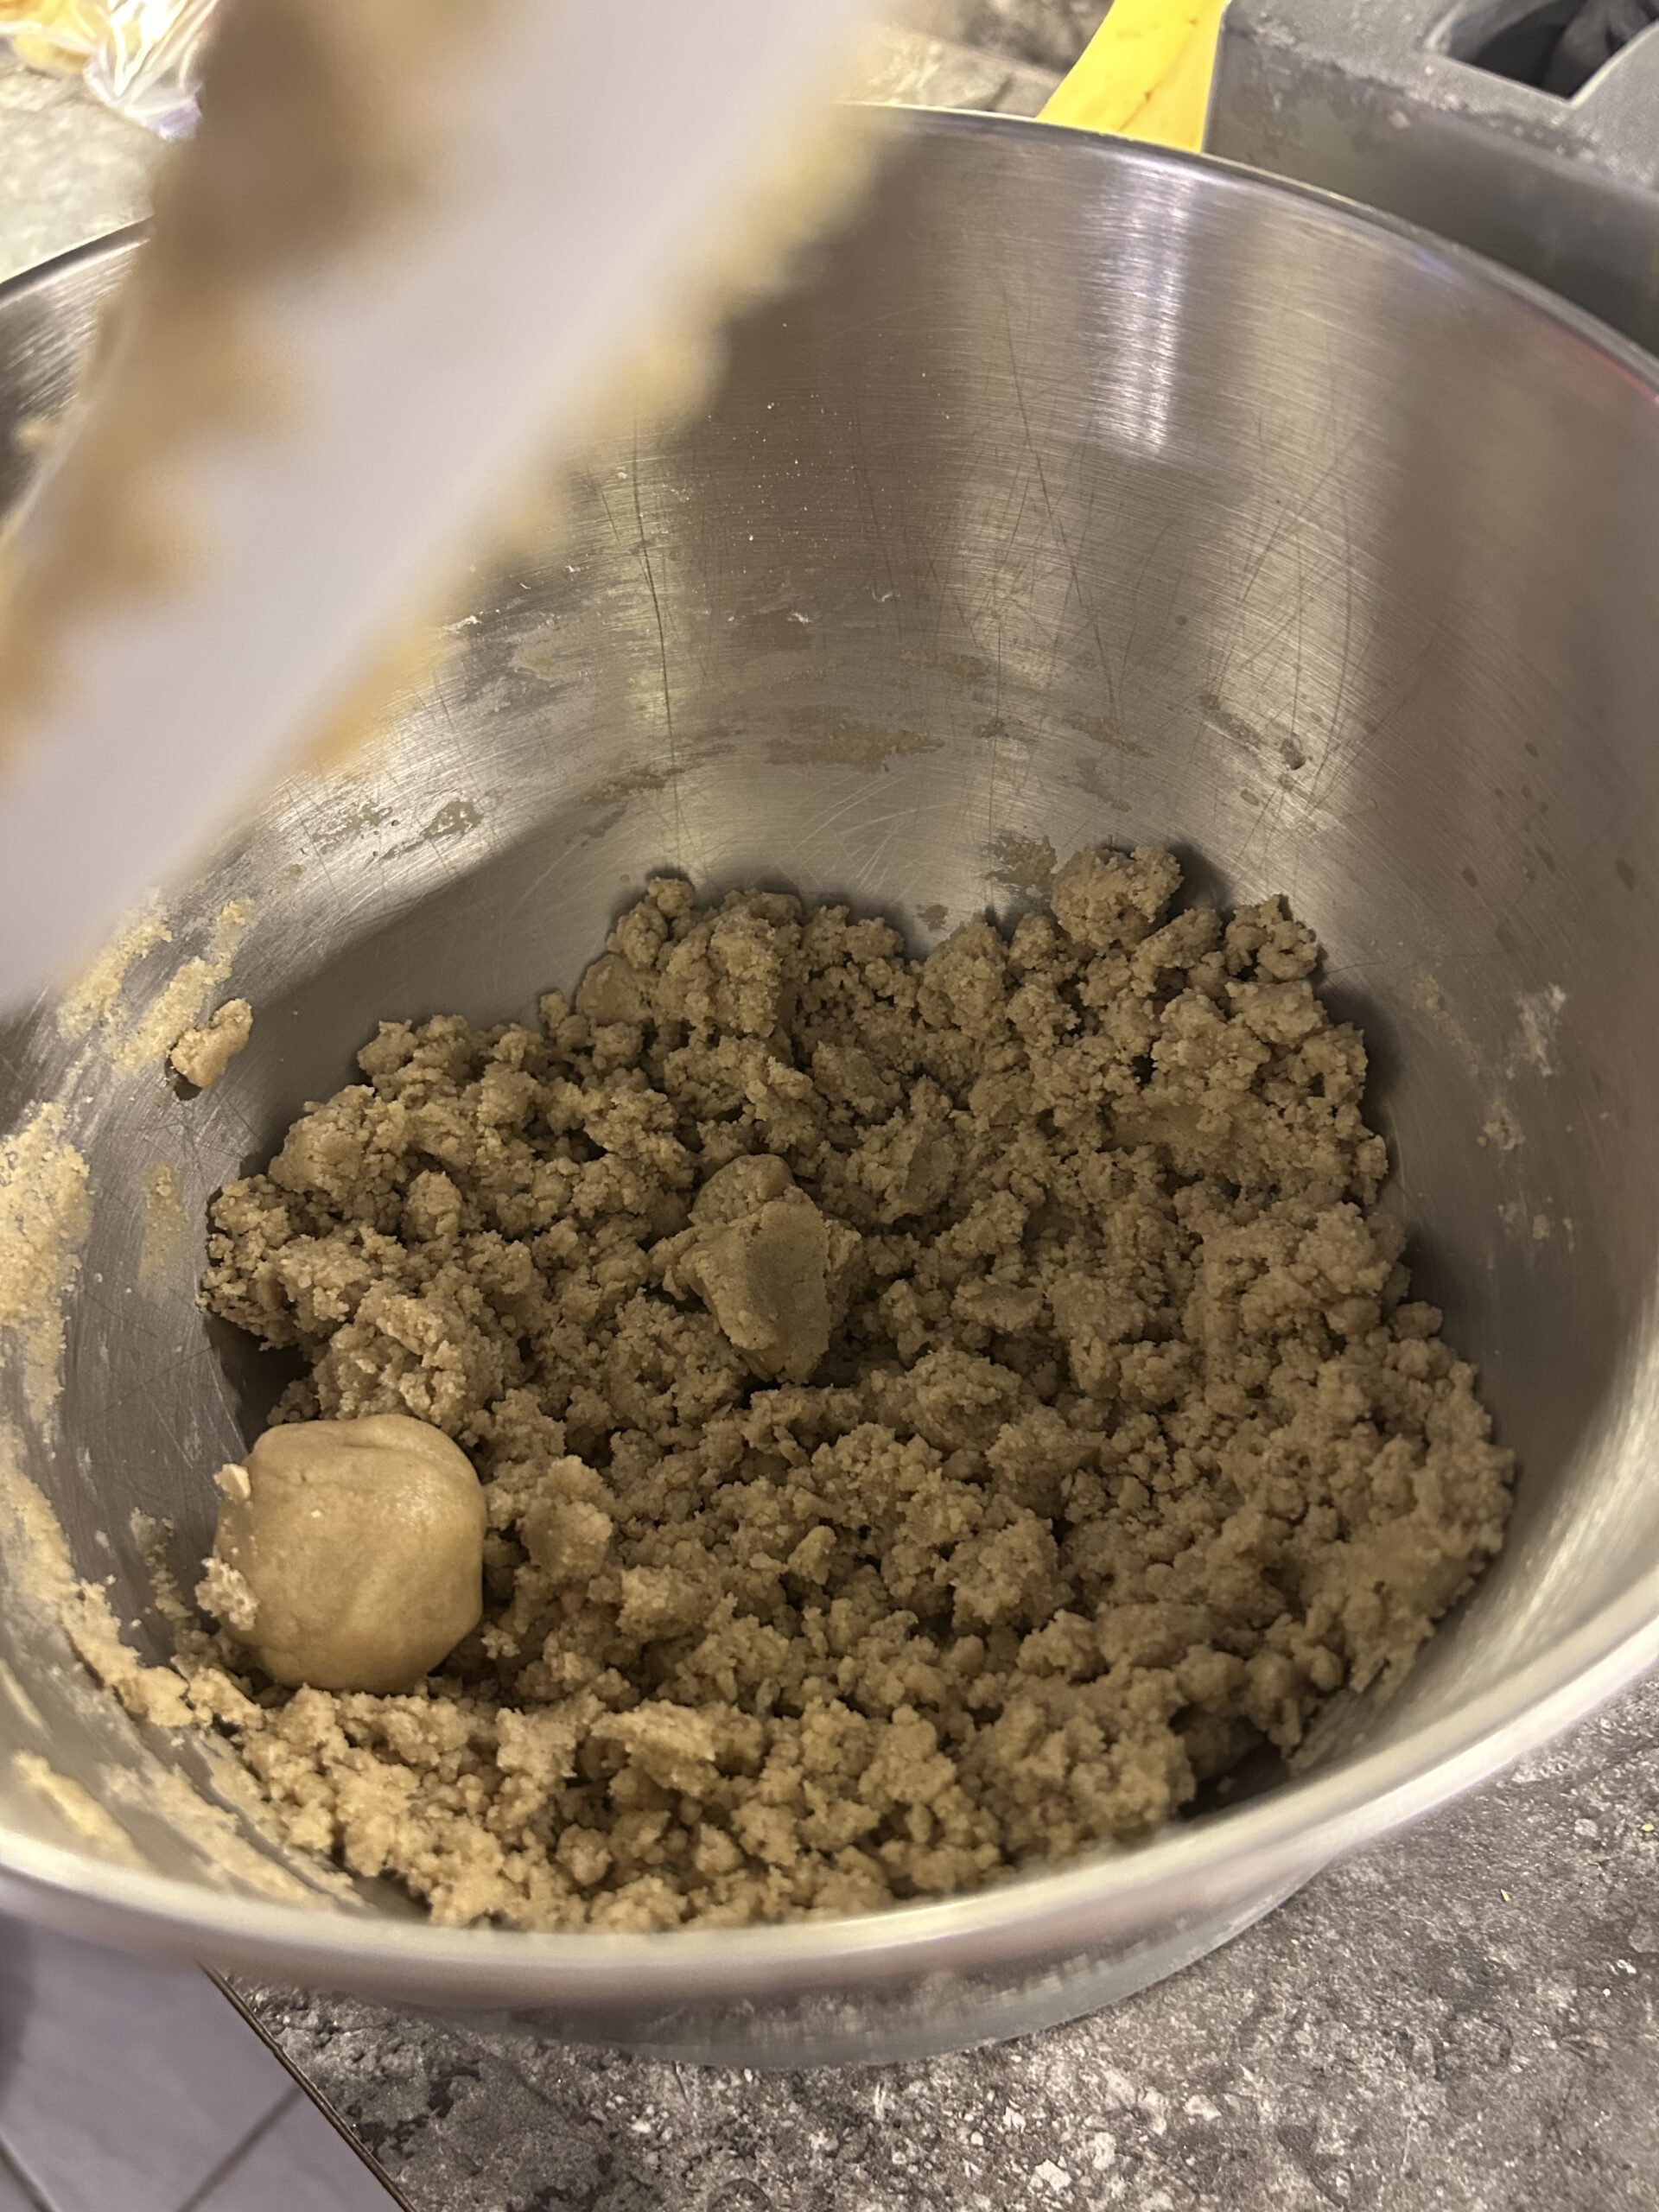
- Add in all remaining ingredients till a crumbly but packable dough forms:
- Scoop 1 TB of dough out onto a parchment lined baking sheet & flatten each circle. Repeat 10-14 times.
- Bake in oven 10-12 mins, or till the cookie looks firm and slightly golden (dark golden will make for an extra crispy cookie).
- Melt the chocolate chips and pour into a ziploc bag. Cut a small slit in one of the corners of the bag to help pour out the chocolate sauce.
- Drizzle 8 curved lines over each cookie. These will be the spider legs.
- Then drizzle a bit extra sauce into the center of each cookie. This will help hold the Reese’s or Kiss on the cookie.
- While chocolate sauce is still runny, place the Reese’s or Kiss on each cookie.
- With the remaining chocolate sauce, carefully dip the backs of each candy eyeball into the sauce and place two on each Reese’s or Kiss.
- Place all spider cookies into fridge till chocolate fully sets. Then, place into an airtight container and store in fridge till ready to eat.