
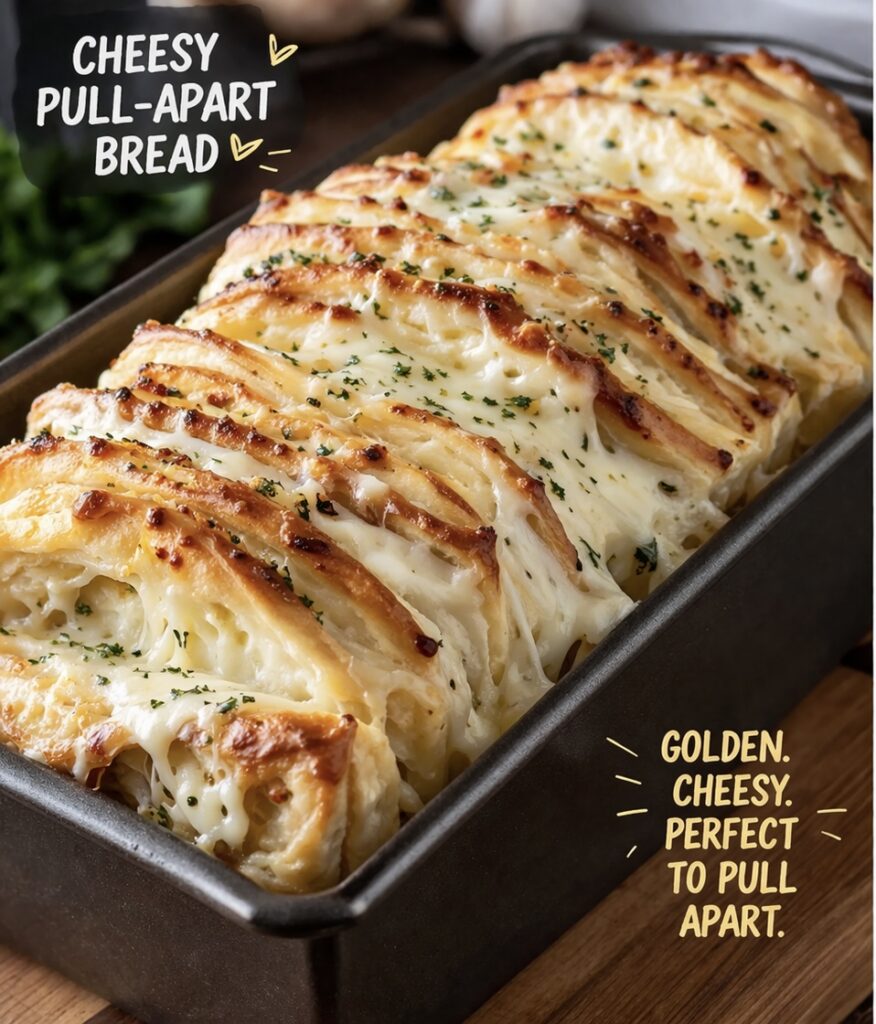
Cheesy Pull-Apart Bread (Stacked Garlic Butter Style)
There’s something incredibly satisfying about bread you can literally pull apart with your hands. It’s warm, soft, cheesy, and layered with flavor in every bite. This cheesy pull-apart bread takes things up a notch with a simple but genius technique: instead of rolling or stuffing, you layer butter, garlic, and cheese over rolled dough, cut it into squares, stack it, and bake it upright in a loaf pan. The result is a beautifully structured loaf with pull-apart layers running across the pan—perfectly golden on top and irresistibly gooey inside.
This recipe is especially great if you’re feeding a crowd, creating content for your blog, or just want something cozy and shareable for dinner. Even better, it works with both regular and gluten-free dough, making it flexible for a variety of dietary needs.
What Makes This Bread So Good
This isn’t your average garlic bread. Instead of a flat loaf or sliced bread, this method creates layers that trap melted cheese and garlic butter between each fold. As the bread bakes, those layers puff up and fuse together slightly while still staying easy to pull apart.
The magic comes from three things:
- The butter mixture soaking into every layer
- The cheese melting between each piece
- The stacking method that creates that signature pull-apart look
Because the dough is cut into squares and stacked across the pan, every slice has multiple layers. That means more texture, more flavor, and way more cheese in every bite.
A Little History Behind Pull-Apart Bread
Pull-apart bread became especially popular in the U.S. around the 1950s and 60s, when home baking recipes started emphasizing convenience and fun presentation. One of the earliest known versions was often called “monkey bread,” which was typically sweet and made by stacking dough balls coated in cinnamon sugar.
Over time, savory versions started popping up—especially garlic and cheese variations. These became a hit at gatherings because they were easy to share and didn’t require slicing.
The stacked method you’re using here is a more modern twist. Instead of balls of dough, this version uses flat layers stacked like pages in a book. It not only looks prettier when baked but also creates a more even distribution of flavor.
Today, pull-apart bread is a staple for everything from holiday dinners to casual weeknight meals, and it continues to evolve with gluten-free and allergen-friendly options.
Why This Method Works So Well
This stacking method isn’t just for looks—it actually improves the bread in several ways.
First, spreading the butter mixture instead of dipping keeps everything more evenly coated. You don’t end up with overly soggy pieces or dry spots.
Second, layering cheese between flat pieces ensures every bite has melted cheese, instead of it pooling at the bottom.
Finally, stacking the squares across the pan creates vertical layers that bake evenly and pull apart cleanly. You get that bakery-style look without any complicated shaping.
Pro Tips for Perfect Pull-Apart Bread
If you want your bread to turn out bakery-level every time, these tips make a big difference:
1. Don’t Roll the Dough Too Thick
Aim for about 1/4-inch thickness. Too thick, and the layers won’t cook evenly. Too thin, and you lose that soft, fluffy texture.
2. Spread Evenly Edge to Edge
Make sure the butter mixture and cheese go all the way to the edges. This ensures every layer has flavor and prevents dry spots.
3. Cut Even Squares
Try to keep your squares around the same size (about 5 inches). This helps the bread bake evenly and stack neatly.
4. Don’t Pack Too Tight
When placing the stacks into the pan, leave a little room. The dough needs space to rise and expand.
5. Let It Rise Properly
This step is key. The dough should look puffy and slightly expanded before baking. Skipping or rushing this step leads to dense bread.
6. Watch the Top While Baking
If the top starts browning too quickly, loosely cover it with foil. This keeps the cheese from burning while the inside finishes baking.
7. Let It Cool Slightly
It’s tempting to dig in right away, but letting it cool for 5–10 minutes helps the layers set so they pull apart better.
Making It Gluten-Free (Without Losing Texture)
One of the best parts about this recipe is how adaptable it is. Using a good 1:1 gluten-free flour blend allows you to swap directly without changing measurements.
A few things to keep in mind:
- Gluten-free dough will be softer and stickier
- You don’t need to knead it like regular dough
- Adding xanthan gum (if not already in the blend) helps with structure
The result is still soft, cheesy, and pull-apart delicious—just with a slightly more tender texture.
Flavor Variations to Try
Once you’ve mastered the base recipe, there are so many ways to switch things up. Here are some fun variations you can try:
Cheesy Herb Bread
Add Italian seasoning or fresh herbs like rosemary and thyme to the butter mixture for a more aromatic flavor.
Spicy Jalapeño Cheese
Mix in diced jalapeños and use pepper jack cheese for a little heat.
Pizza Pull-Apart Bread
Add a thin layer of marinara sauce and pepperoni slices between the layers for a pizza-inspired version.
Bacon Ranch
Add cooked bacon bits and a sprinkle of ranch seasoning to the layers for a savory twist.
Sweet Cinnamon Version
Skip the garlic and cheese. Use butter, cinnamon, and sugar instead for a dessert-style pull-apart bread.
Serving Ideas
This bread is incredibly versatile and pairs well with so many meals. Here are a few ideas:
- Serve alongside pasta dishes like baked ziti or spaghetti
- Pair with soups like tomato or chicken noodle
- Use it as an appetizer for gatherings
- Add it to a holiday dinner spread
- Serve with a dipping sauce like marinara or garlic butter
It’s also perfect on its own. Honestly, it rarely lasts long enough to need a side dish.
Common Mistakes to Avoid
Even simple recipes can go sideways if a few things aren’t right. Here’s what to watch for:
- Using dough that’s too cold (it won’t rise well)
- Skipping the rise time
- Overloading with cheese (can make it greasy)
- Cutting uneven pieces
- Baking at too high a temperature
Keeping things simple and consistent is the key to success here.
Why This Recipe Works for Your Blog
If you’re creating content, this recipe is gold. It checks all the boxes:
- Visually stunning with layered structure
- Easy to customize for different diets
- Simple ingredients most people already have
- Great for step-by-step photos and videos
- Highly shareable and crowd-pleasing
Plus, that cheese pull? Always a winner for engagement.
Final Thoughts
This cheesy pull-apart bread is one of those recipes that feels fancy but is actually super simple. The stacked method gives it a unique look and texture, while the garlic butter and cheese make it completely irresistible.
Whether you’re making it gluten-free, allergen-friendly, or sticking with classic dough, it’s a recipe that delivers every time. It’s warm, comforting, and perfect for sharing—though you might not want to.
Once you try it, you’ll probably start thinking of all kinds of new variations. And honestly, that’s the best part.
Print
Vegan Pull-Apart Cheesy Bread (Gluten, Soy, & Nut Free)
Ingredients
For the dough:
- 3 cups 1:1 gluten-free flour blend with xanthan gum
- 2 1/4 tsp instant yeast
- 1 tbsp sugar
- 1 tsp salt
- 1 1/4 cups warm water
- 2 tbsp olive oil
- 1 tsp apple cider vinegar
Filling
- 1/3 cup vegan soy free butter (melted)
- 2 tbsp vegan parmesan cheese
- 1 tbsp minced garlic
- 1 tsp parsley
- 1 cup + 2 tbsp vegan mozzarella (divided)
- Optional: 1 sprig fresh parsley, for topping
Instructions
- Preheat oven to 350°F. Grease a loaf pan.
- Meanwhile mix the water, sugar, and yeast together till foamy.
- Then, mix all dough ingredients together till a slightly sticky dough ball forms.
- Roll dough into a large rectangle (about a big square, 1/4-inch thick).
- Mix melted butter, garlic, parsley, and parmesan.
- Spread butter mixture evenly over the dough.
- Sprinkle 1 cup mozzarella over the top.
- Cut dough into 5-inch squares.
- Stack squares on top of each other.
- Place stacks upright into the loaf pan.
- Sprinkle remaining mozzarella on top.
- Cover and let rise 30–45 minutes until puffy.
- Bake 30–35 minutes until golden and bubbly.
- Cool slightly, sprinkle on some fresh parsley if desired, and then pull apart and serve.