
Vegan Vanilla Ice Cream
Vegan vanilla ice cream is a creamy, dreamy treat that captures the essence of traditional vanilla ice cream, but without any dairy or eggs. It boasts a rich, smooth texture that melts perfectly in your mouth, creating a delightful experience with every bite. Furthermore, the natural sweetness of vanilla shines through, offering a comforting and indulgent flavor that’s incredibly satisfying. Whether you’re vegan or simply seeking a dairy-free and egg-free alternative, it’s the perfect choice for anyone craving a sweet, creamy dessert!
History of Vegan Ice Cream
Vegan ice cream began to gain popularity in the late 20th century as a dairy-free alternative for those with lactose intolerance or allergies. Initially, small businesses started offering plant-based options made from soy, rice, and coconut milk. As a result, these products quickly gained traction among those seeking dairy-free desserts. By the mid-2000s, larger brands like Ben & Jerry’s and Häagen-Dazs introduced their own lines, making vegan ice cream even more accessible to a wider audience. Today, it’s not only enjoyed by people with dietary restrictions but also by those simply exploring plant-based options, with an ever-growing variety of flavors and ingredients to choose from. If you want to find out more about the history of title, here is where I found some of my information!
This post may contain affiliate links. See full disclosure here.
Ingredients & Substitutes
- Oat milk or other non-dairy milk of choice
- Granulated sugar
- Arrowroot starch or cornstarch (to replace eggs)
- Vegan whipping cream (contains legumes)
- Vanilla extract
- Guar gum
- Pinch of sea salt
- Optional: Vanilla bean seeds
- Optional Add-ins/Flavors:
- For Vanilla Chip: Crushed vegan chocolate chips
- For Cookies & Cream: Crushed gluten-free Oreos (if soy-free)
- For Mint Chip: Peppermint extract & crushed vegan chocolate chips
- For Strawberry: Fresh strawberries, mashed yet still chunky
- For Moose Tracks: Crushed sunflower butter cups (no whey brand), and homemade fudge sauce
- For Sea Salt Caramel Truffle: Vegan caramel sauce, salt, and homemade truffles
How to Make Vegan Vanilla Ice Cream
Dissolve the granulated sugar and cornstarch into your non-dairy milk.
Once dissolved, mix all remaining ingredients (except for the optional add-ins) into your milk mixture and pour it into a pot on medium heat.
Next, heat and stir the mixture often until you reach a rolling boil, and the mixture thickens slightly.
Afterward, freeze the mixture for at least 1.5 hours, but no more than 5 hours. The longer it freezes, the firmer the ice cream will be when served.
Then, pour the mixture into an ice cream maker and let it spin for 15-20 minutes. *See notes if you don’t have an ice cream maker.
Once the ice cream has reached a soft-serve consistency, stir in your optional add-ins. You can either serve your ice cream right away, or for a firmer texture, freeze it overnight in an airtight container.
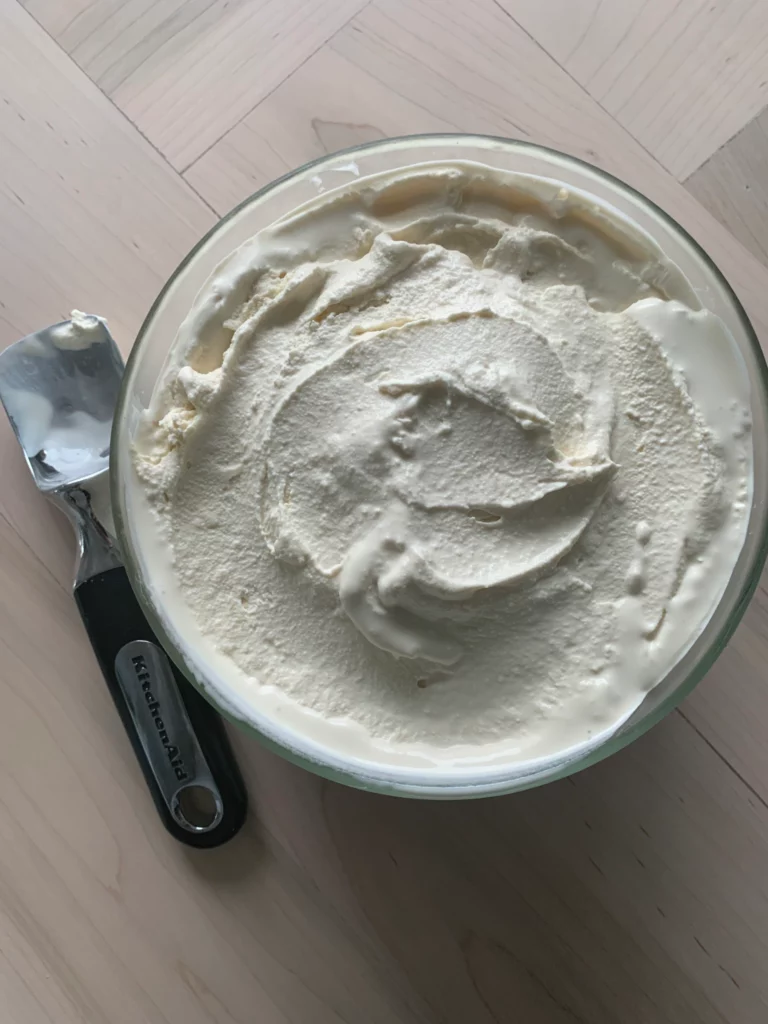
soft serve:
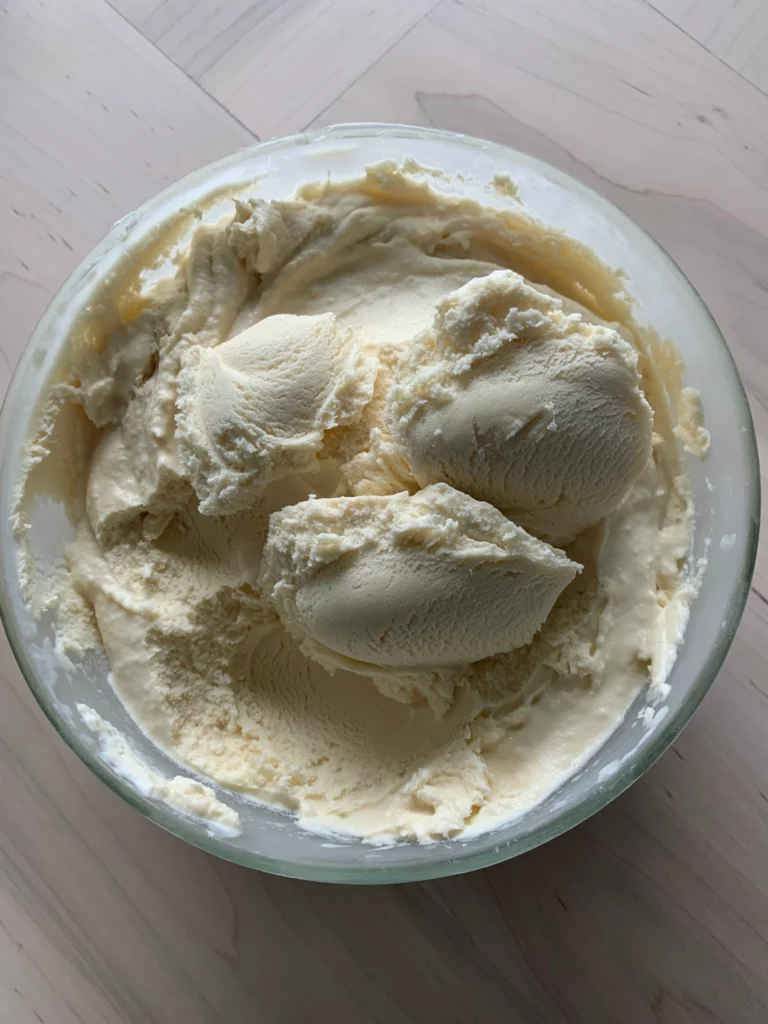
Firm ice cream:
Finally, ENJOY! The ice cream will last up to 6 months in the freezer.
Common Questions
1. Can I make vegan ice cream at home without an ice cream maker?
Absolutely! In fact, you can easily make vegan ice cream at home without an ice cream maker by using simple methods like no-churn recipes. Typically, these recipes involve blending frozen fruit or using coconut cream, then freezing the mixture. As a result, you can enjoy homemade ice cream without needing special equipment, and it’s often quicker and easier than you might think.
2. Can I add mix-ins like chocolate chips or fruit to vegan ice cream?
Definitely! Adding mix-ins like chocolate chips, fruit, or even crushed cookies is a fantastic way to customize your vegan ice cream. In fact, these mix-ins not only enhance the flavor but also offer interesting textures. Just be sure to add them after the ice cream has been churned or frozen to ensure they stay evenly distributed and don’t get too soft or melt into the base.
3. How long does vegan ice cream last in the freezer?
Vegan ice cream typically lasts 1-2 weeks in the freezer, just like traditional ice cream. However, to maintain its smooth texture, it’s best to store it in an airtight container. Additionally, if you’re making it with coconut milk, you might notice it hardens a bit more than dairy-based ice cream, so letting it sit at room temperature for a few minutes before serving can help achieve that perfect consistency.
Other Favorite Allergy Friendly Dessert Recipes


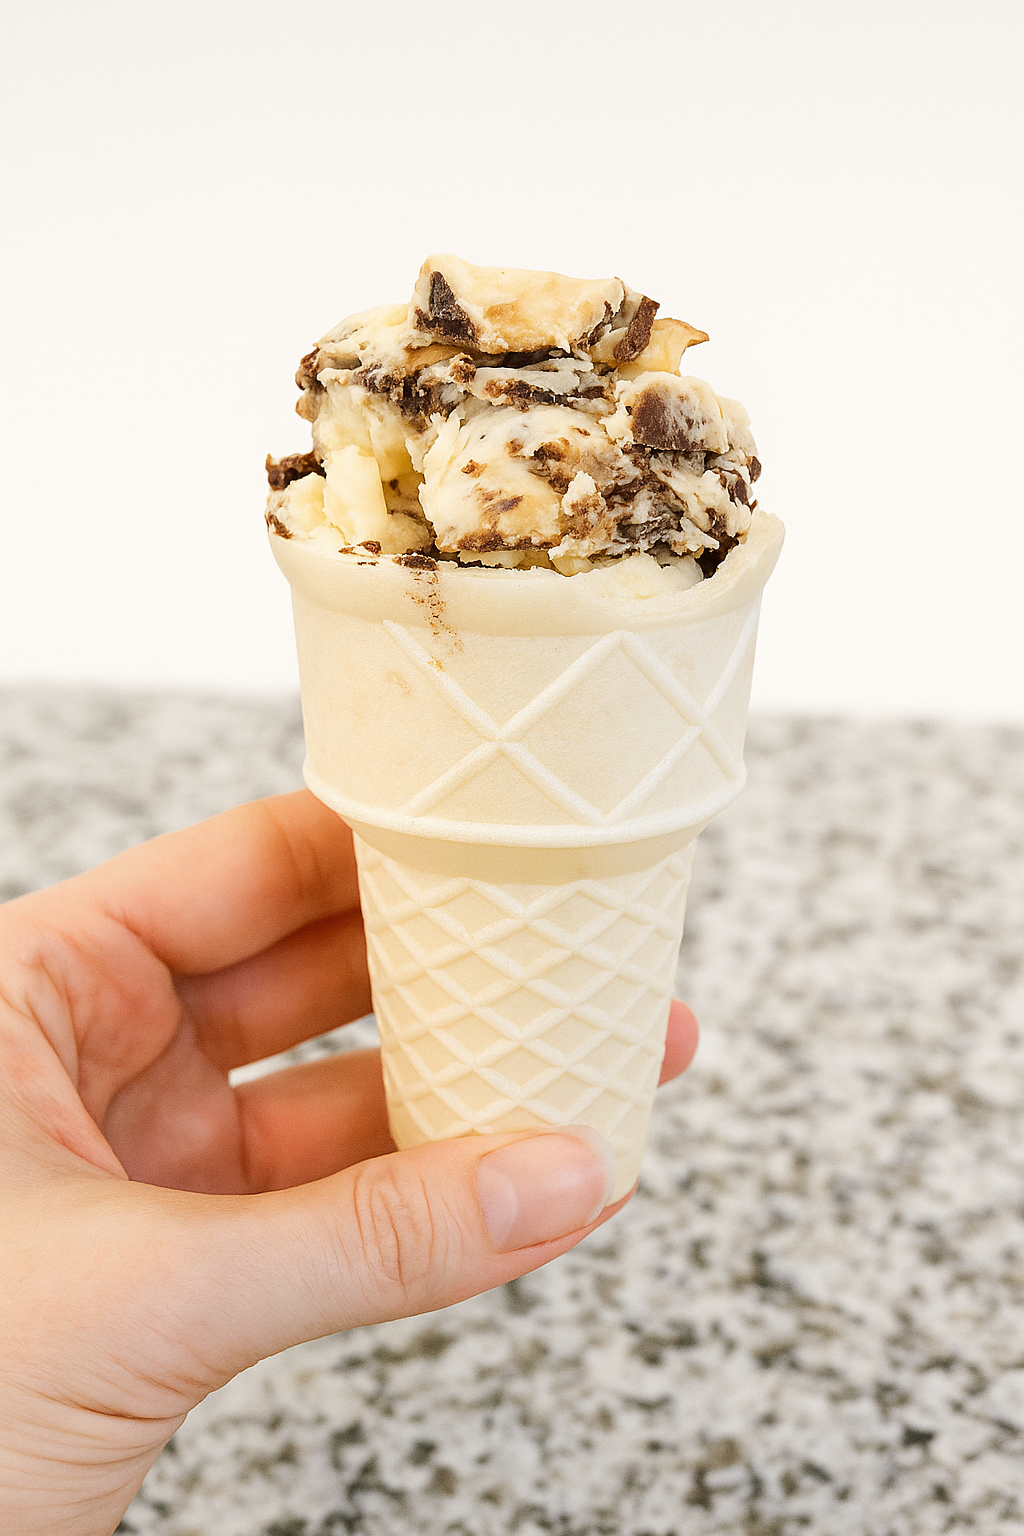
Moose Tracks
Serves 3 cups ice cream, about 6-8 servings.
Ingredients
Vanilla Ice-cream Base
- 1 cup oat milk, OR other non dairy milk of choice
- 3/4 cup (150 g) granulated sugar
- 2 TB cornstarch
- 2 cups vegan whipping cream (contains legumes)
- 2 TB vanilla extract
- 1/8 tsp guar gum
- Pinch of sea salt
- Optional: 1 tsp seeds from 1-2 vanilla beans
- 3/4 cup (about 6 No whey SB cups) crushed sunflower butter cups,
OR Homemade Freezer—friendly Sunbutter Balls:
- 8 oz sunflower butter, no sugar added
- 8 oz dairy-free dark chocolate
- 1–1 1/2 TB maple syrup (just enough for balance, not sweetness)
- 3 TB olive oil
Homemade Fudge Sauce
- 8 oz Enjoy Life dark chocolate chips (or semi-sweet if you want sweeter)
- 1/4 cup coconut oil OR soy-free vegan butter
- 3 TB olive oil
- 3 TB maple syrup or agave
- 1 tsp vanilla
Instructions
- Dissolve the granulated sugar and cornstarch into your non dairy milk.
- Mix all remaining ingredients (except for the optional add-ins) into your milk mixture & pour into a pot on medium heat.
- Heat and stir often, till you reach a rolling boil and mixture thickens slightly.
- Freeze this mixture for at least 1.5 hours and no more than 5 hours. The longer, the better for solid serve ice cream.
- Pour mixture into an ice cream maker and let it spin for 15-20 mins. *See notes if you don’t have an ice cream maker.
- Pour half of your icecream into your container. Sprinkle in half of your chopped sunflower cups. Then pour half of your fudge sauce in a zig zag line with a spoon. Use a skinny skewer stick to swirl the fudge sauce in a figure 8 pattern 2 times.
- Repeat the previous step for the remaining ice cream and fudge sauce.
- Freeze overnight in an airtight container for a more solid ice cream.
ENJOY! Ice cream will last up to 6 months in a freezer.
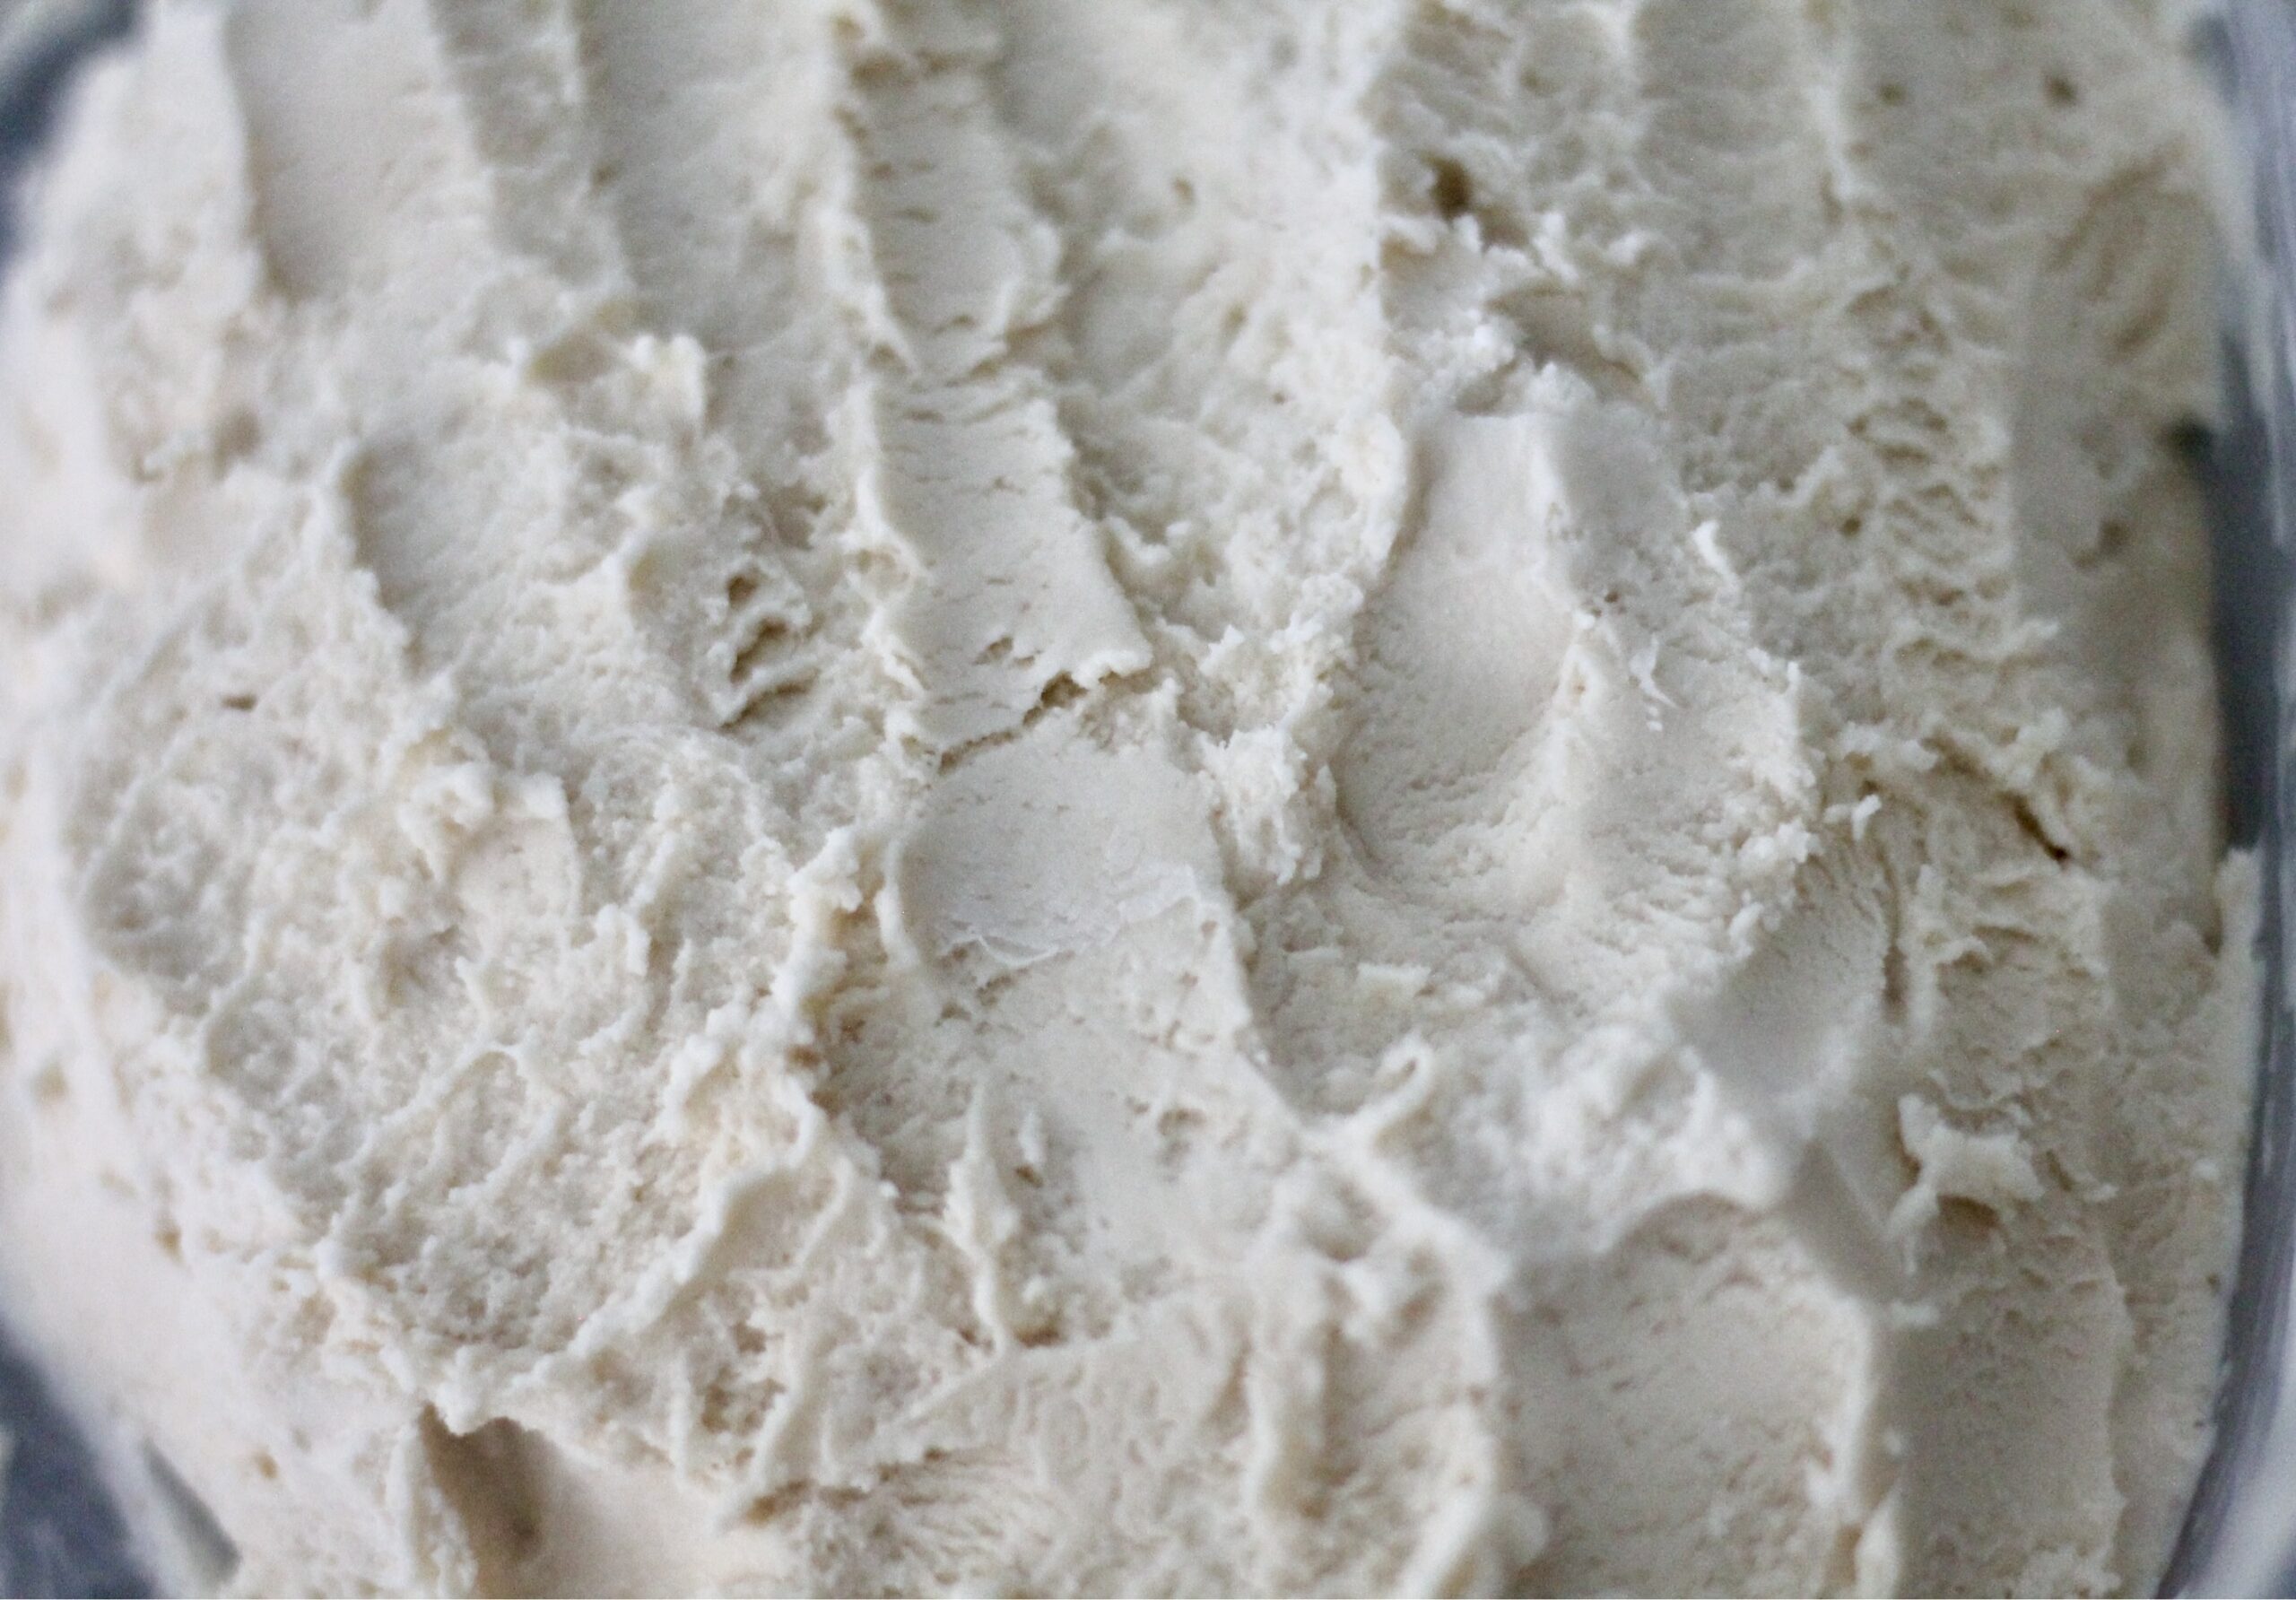
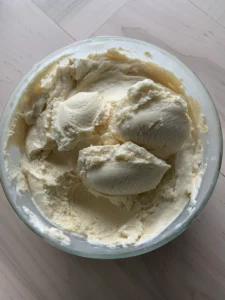
Here’s what my ice cream looks like right out of the ice cream maker (I froze the mixture beforehand for the minimum 1.5 hrs):

Here’s a picture after freezing the ice cream overnight:
Notes
*If you don’t have an ice cream maker, take out the ice cream mixture from the freezer after completing step 4 and stir. Repeat this every few hours (3-4 times), till the mixture begins to have the texture of solid ice cream. You can mix in your desired add-ins at this point. Then, freeze ice cream overnight and enjoy the following day!