
A Spooky Allergy-Friendly Treat for Halloween
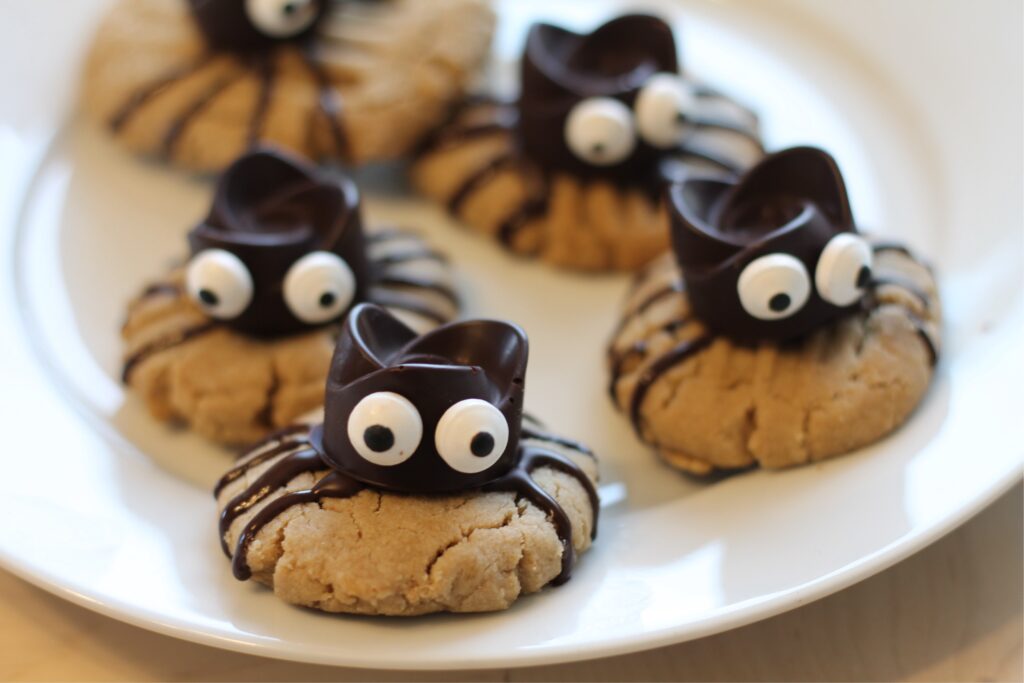
It’s October. The air smells like pumpkin and cinnamon. I love turning favorite childhood cookies into something spooky. These spider cookies look fun, taste great — and they’re free from dairy, soy, gluten and nuts (well, except your sunflower butter). They’re perfect for trick-or-treaters with food sensitivities. Best of all, they combine a soft cookie base with a mini Reese’s or Kiss as the spider-body, candy eyes, and chocolate “legs.” Creepy? Yes. Cute? Absolutely. And completely indulgent.
I couldn’t resist giving a traditional peanut-butter-blossom-style cookie a Halloween makeover. These cookies are chewy, slightly crisp at the edges, and decorated to look like little spiders with googly eyes. They’re sweet, handmade, and great for a party or just a nighttime snack while watching scary movies.
A Bit of History Behind the Spider Cookie Concept
The idea of attaching a candy (like a Hershey’s Kiss or Reese’s) to the center of a cookie goes back to the classic Peanut Butter Blossom cookie, where a bite-size chocolate candy is pressed into the top of a freshly baked cookie. That tradition has been adapted many times — including Halloween-themed versions with candy eyes and drawn legs. (Wikipedia)
Spider cookies are a recent twist: bakers take that Blossom-style cookie and decorate it to look like spiders for Halloween. (Modern Crumb)
While the original “blossom cookie” is not allergy-friendly, this recipe is your spin: vegan, gluten-free (if you use gluten-free flour), and nut-free (using sunflower butter instead of peanut butter). It’s part tradition, part creative holiday fun.
Ingredients & Possible Substitutions
Here’s what you’ll need:
- Sunflower butter
- Vegan butter (soy-free)
- Brown sugar
- Granulated sugar
- Water
- Vanilla extract
- Olive oil
- Cornstarch
- Baking powder
- All-purpose gluten-free flour
- Salt
- Mini dairy-free chocolate “kisses” or sun-butter Reese-style cups (for the spider body)
- Dairy-free chocolate chips
- Allergy-friendly candy eyes
Possible substitutions / variations:
- Use a different neutral oil or vegan butter alternative (if one brand isn’t available).
- Swap the sweetener: you might adjust sugars slightly if you prefer a less-sweet base.
- Use another gluten-free flour blend (just ensure it has similar binding properties).
- For the candy eyes, you could try homemade piped icing dots instead of store-bought eyes.
- You could change flavors: add a pinch of cinnamon, cocoa powder to the dough, or use flavored vanilla extract.
Step-by-Step Instructions
- Preheat & prep
Preheat oven to 350 °F. Line a baking sheet with parchment paper. - Make the dough
Cream together sunflower butter, vegan butter, brown sugar, granulated sugar, water and vanilla. Mix until smooth.
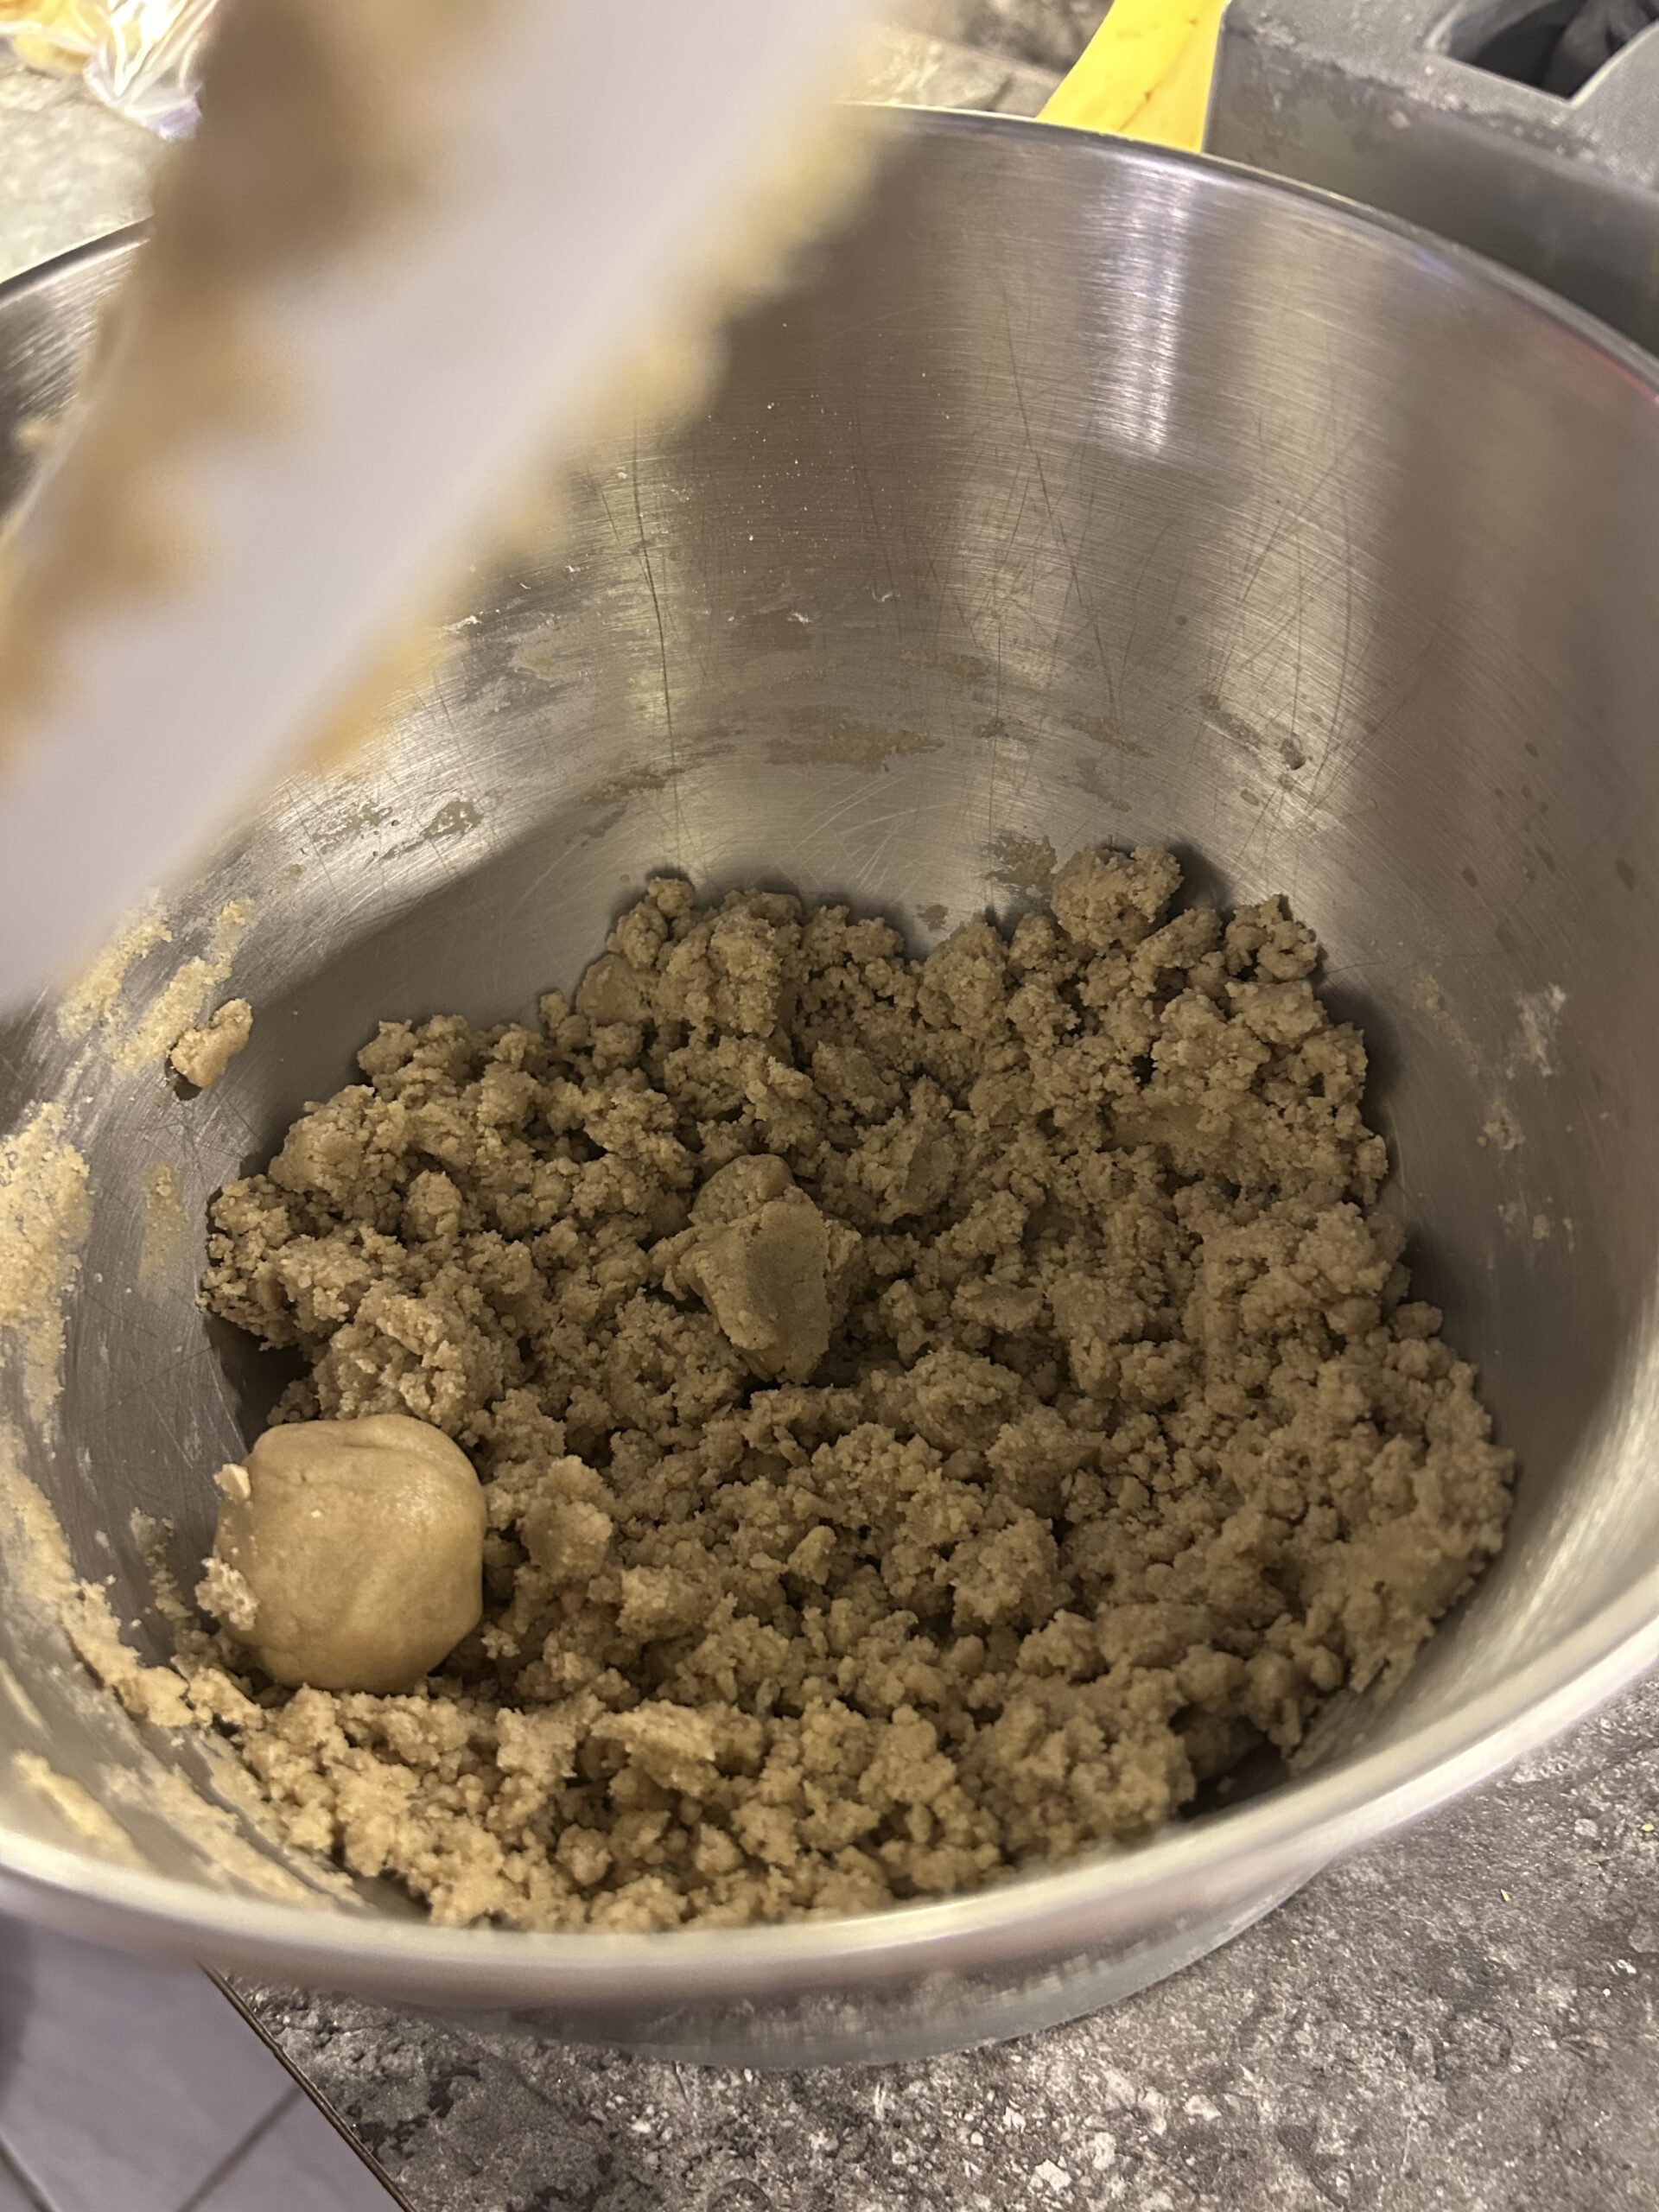
Add olive oil, cornstarch, baking powder, salt and the gluten-free flour. Stir until you have a crumbly but packable dough. - Form the cookies
Scoop about 1 tablespoon of dough per cookie onto the prepared sheet. You’ll end up maybe 12–14 cookies (depending on size).
Press the tops once or twice with a fork to gently flatten and add texture. - Bake
Bake in the 350 °F oven for about 10-12 minutes. You want them firm and slightly golden. If they go darker golden, they’ll have extra crispiness at the edges. - Prepare the decoration
While the cookies cool slightly, melt your dairy-free chocolate chips. Place the melted chocolate into a bag or piping bag (or zip-top bag). Cut a small slit in one corner so you can pipe/drizzle the chocolate. - Decorate into spiders
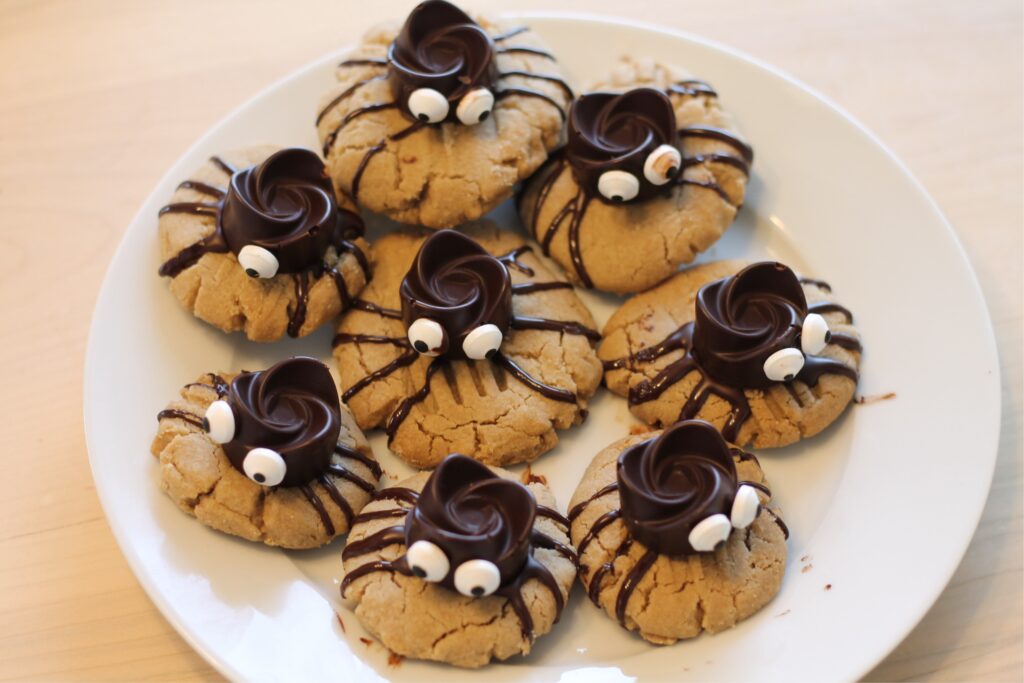
On each baked cookie, do eight curved lines of chocolate drizzle radiating outwards (those are the spider legs).
Then drizzle a bit more chocolate in the center of the cookie where you’ll place the candy body (Reese’s or Kiss). While the drizzle is still wet, press the candy body into the center.Next, take your candy eyes and carefully dip the backs into chocolate, then place two eyes on top of each candy body — to make the spider eyes. - Set & store
Once decorated, chill the cookies in the fridge until the chocolate fully sets. Then store them in an airtight container in the fridge until you’re ready to eat them.

FAQ
Q: Can I make these fully nut-free and gluten-free?
A: Yes. As written they’re nut-free (sunflower butter instead of peanuts/nuts). If you use a gluten-free flour blend, they become gluten-free too. Just ensure all your chocolate / candy eyes are certified allergy-friendly.
Q: Can I use regular flour instead of gluten-free?
A: You could. Just know the texture might differ. If you don’t need gluten-free, you can substitute a regular all-purpose flour, though baking times or texture may shift slightly.
Q: How long will the cookies stay fresh?
A: Stored in an airtight container in the fridge, they should stay fresh and tasty for several days (probably up to a week or more), though the candy eyes and chocolate may soften if left too long.
Q: What if my dough comes out too dry or sticky?
A: If it’s too dry, add a tiny splash more water or oil. If it’s too sticky, add a bit more gluten-free flour or chill the dough briefly before scooping.
Q: Can I change the “body” candy from Reese’s / Kiss to something else?
A: Yes. As long as it’s an allergy-friendly candy that holds its shape after baking (or can be pressed gently while warm). You could use a mini sun-butter cup, or another allergy-approved candy.
Q: Do I have to bake & chill right away?
A: You bake first, let cookies cool a bit so they don’t melt the chocolate, then decorate while warm enough for drizzle to stick. Chill helps the chocolate set cleanly and avoid smearing or melting if the room is warm.

Vegan Gluten Free Spider Cookies (Soy, & Nut Free too!)
Ingredients
- ½ cup (132g) sunflower butter
- 1/4 cup (68g) vegan soy free butter, room temperature
- 1/4 cup (24g) packed brown sugar
- ⅓ cup (67g) granulated sugar
- 2 TB water
- 2 tsp vanilla extract
- 1 tsp olive oil
- 1 tsp cornstarch
- 1 tsp baking powder
- 1 1/8 cup (188g) all purpose gf flour
- ¼ teaspoon salt
- 12–14 No Whey chocolate kisses, OR homemade sun butter Reese’s, OR homemade chocolate candies
- 8oz enjoy life or simple truth dairy free chocolate chips
- 24 Allergy friendly candy eyes
Instructions
- Preheat oven to 350F.
- Cream the sunflower butter, vegan butter, brown sugar, granulated sugar, water, and vanilla together, till smooth.
- Add in all remaining ingredients till a crumbly but packable dough forms:
- Scoop 1 TB of dough out onto a parchment lined baking sheet & flatten each circle. Repeat 10-14 times.
- Bake in oven 10-12 mins, or till the cookie looks firm and slightly golden (dark golden will make for an extra crispy cookie).
- Melt the chocolate chips and pour into a ziploc bag. Cut a small slit in one of the corners of the bag to help pour out the chocolate sauce.
- Drizzle 8 curved lines over each cookie. These will be the spider legs.
- Then drizzle a bit extra sauce into the center of each cookie. This will help hold the Reese’s or Kiss on the cookie.
- While chocolate sauce is still runny, place the Reese’s or Kiss on each cookie.
- With the remaining chocolate sauce, carefully dip the backs of each candy eyeball into the sauce and place two on each Reese’s or Kiss.
- Place all spider cookies into fridge till chocolate fully sets. Then, place into an airtight container and store in fridge till ready to eat.