
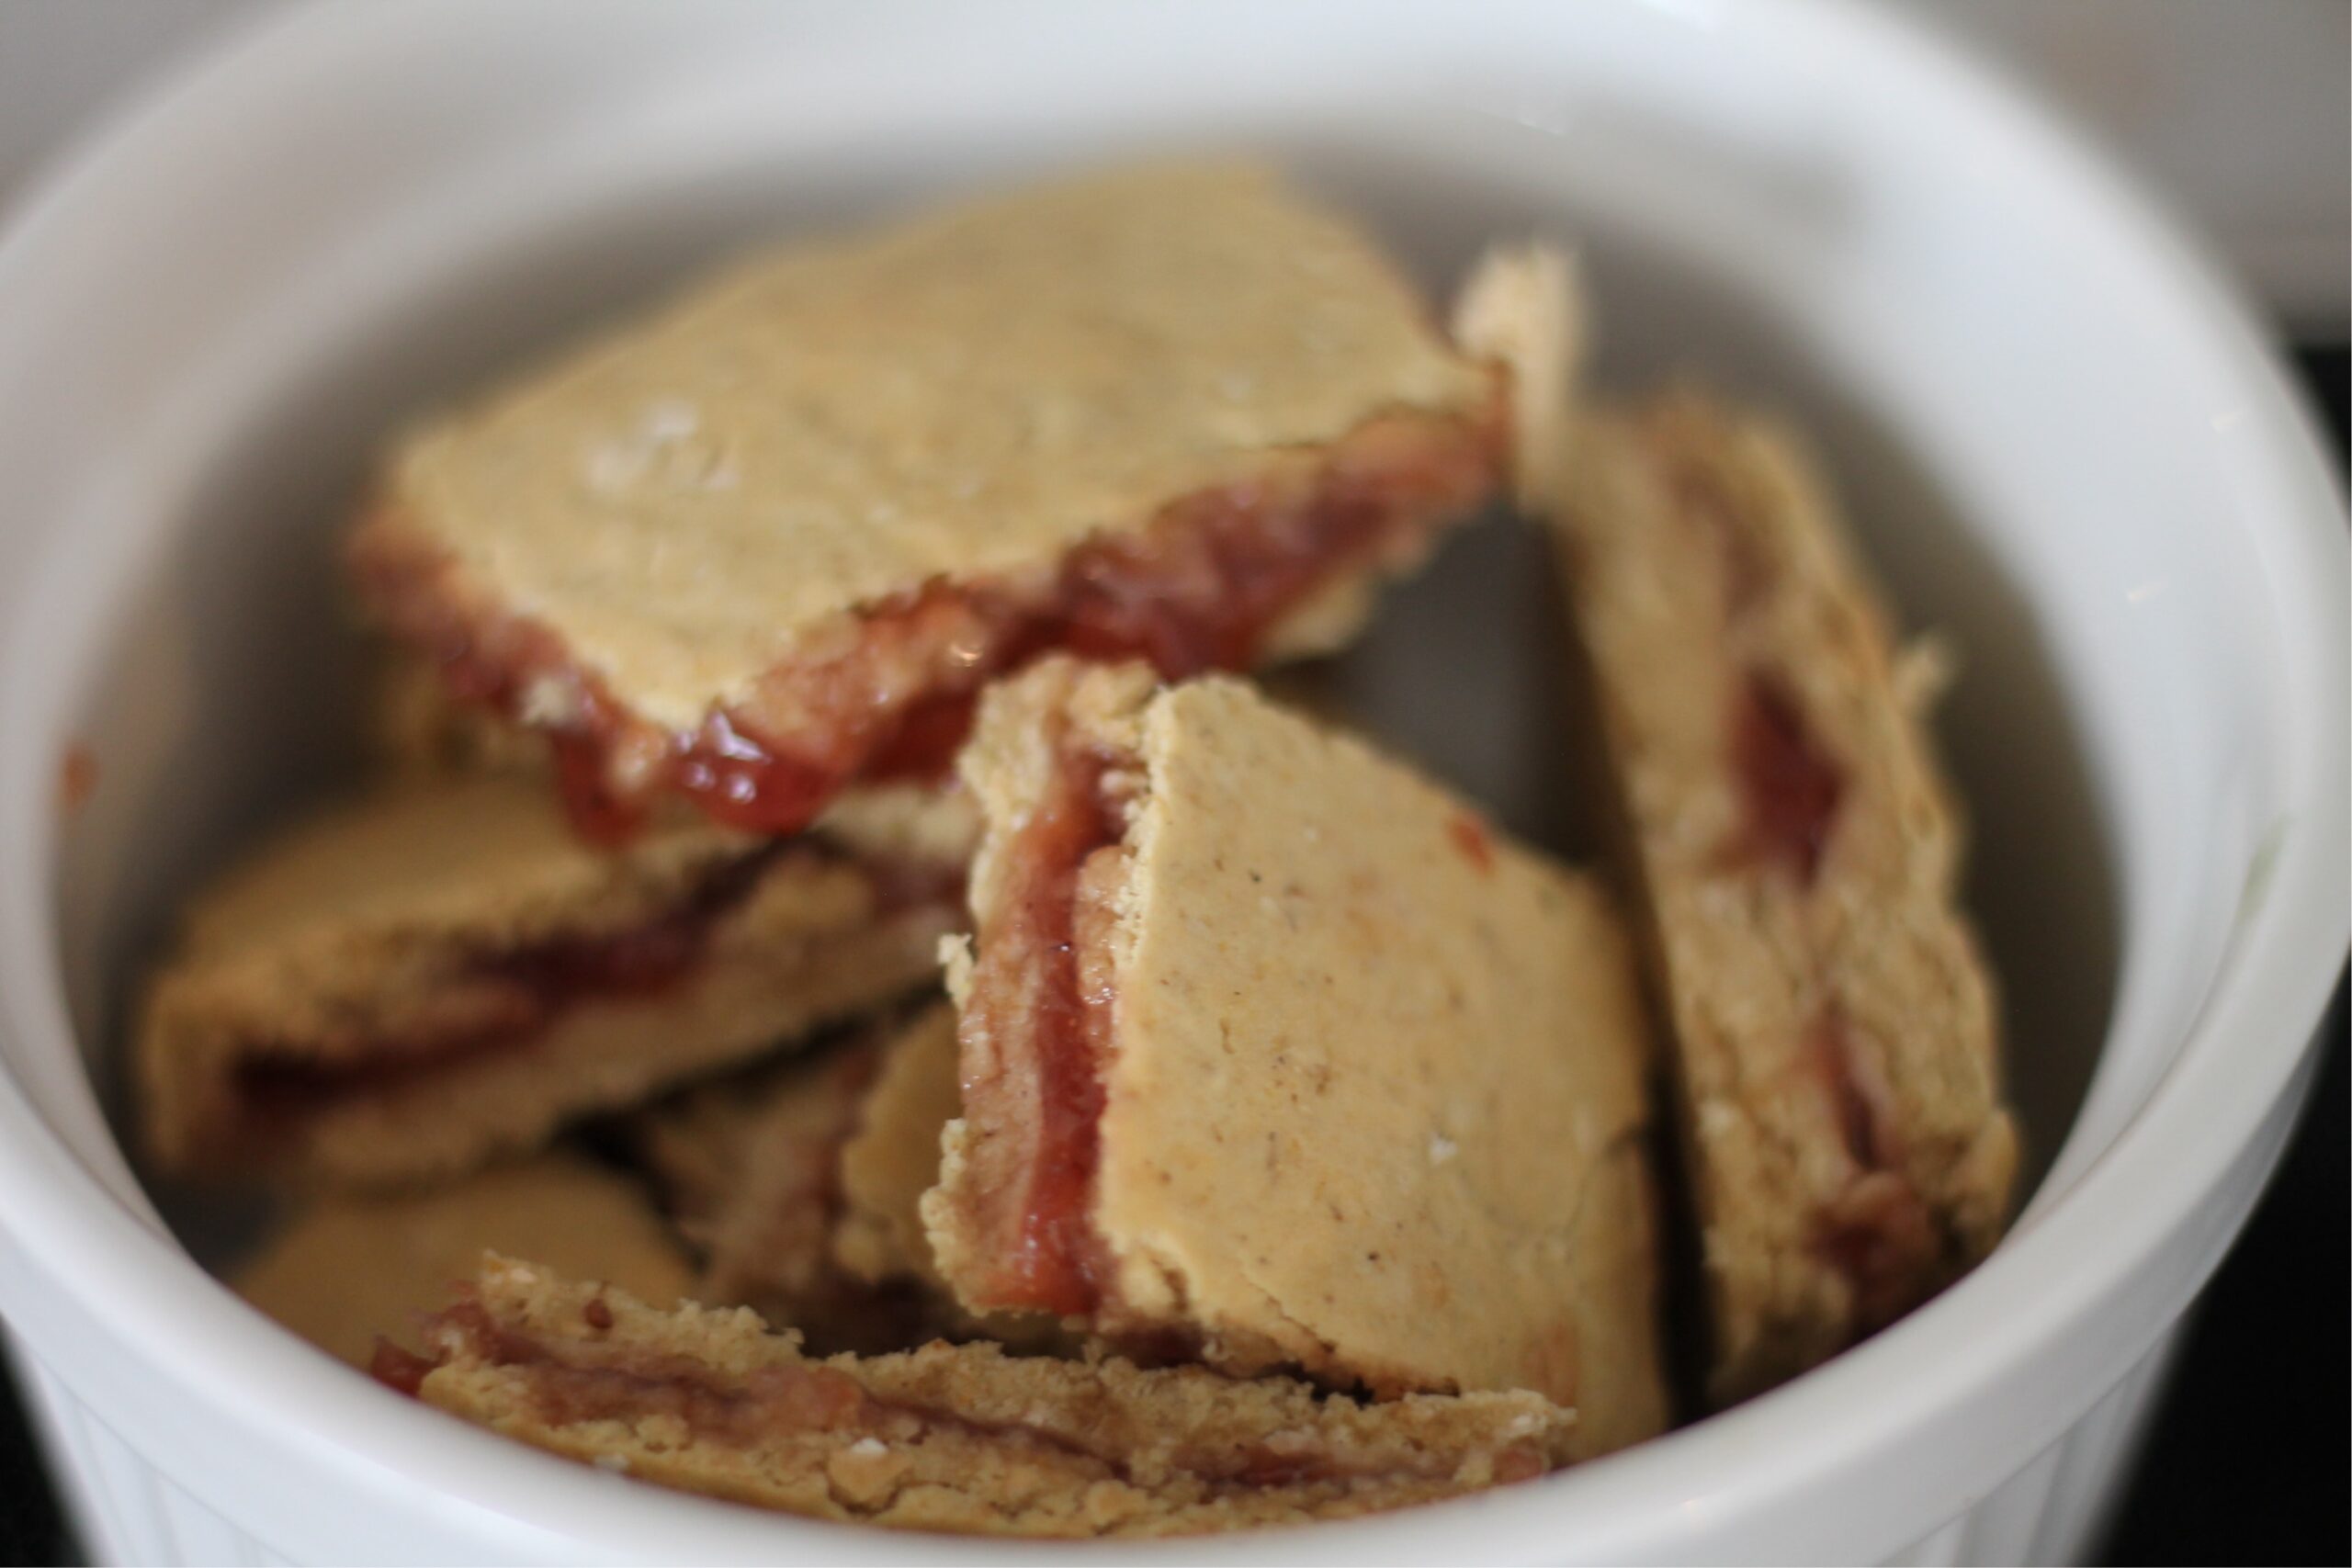
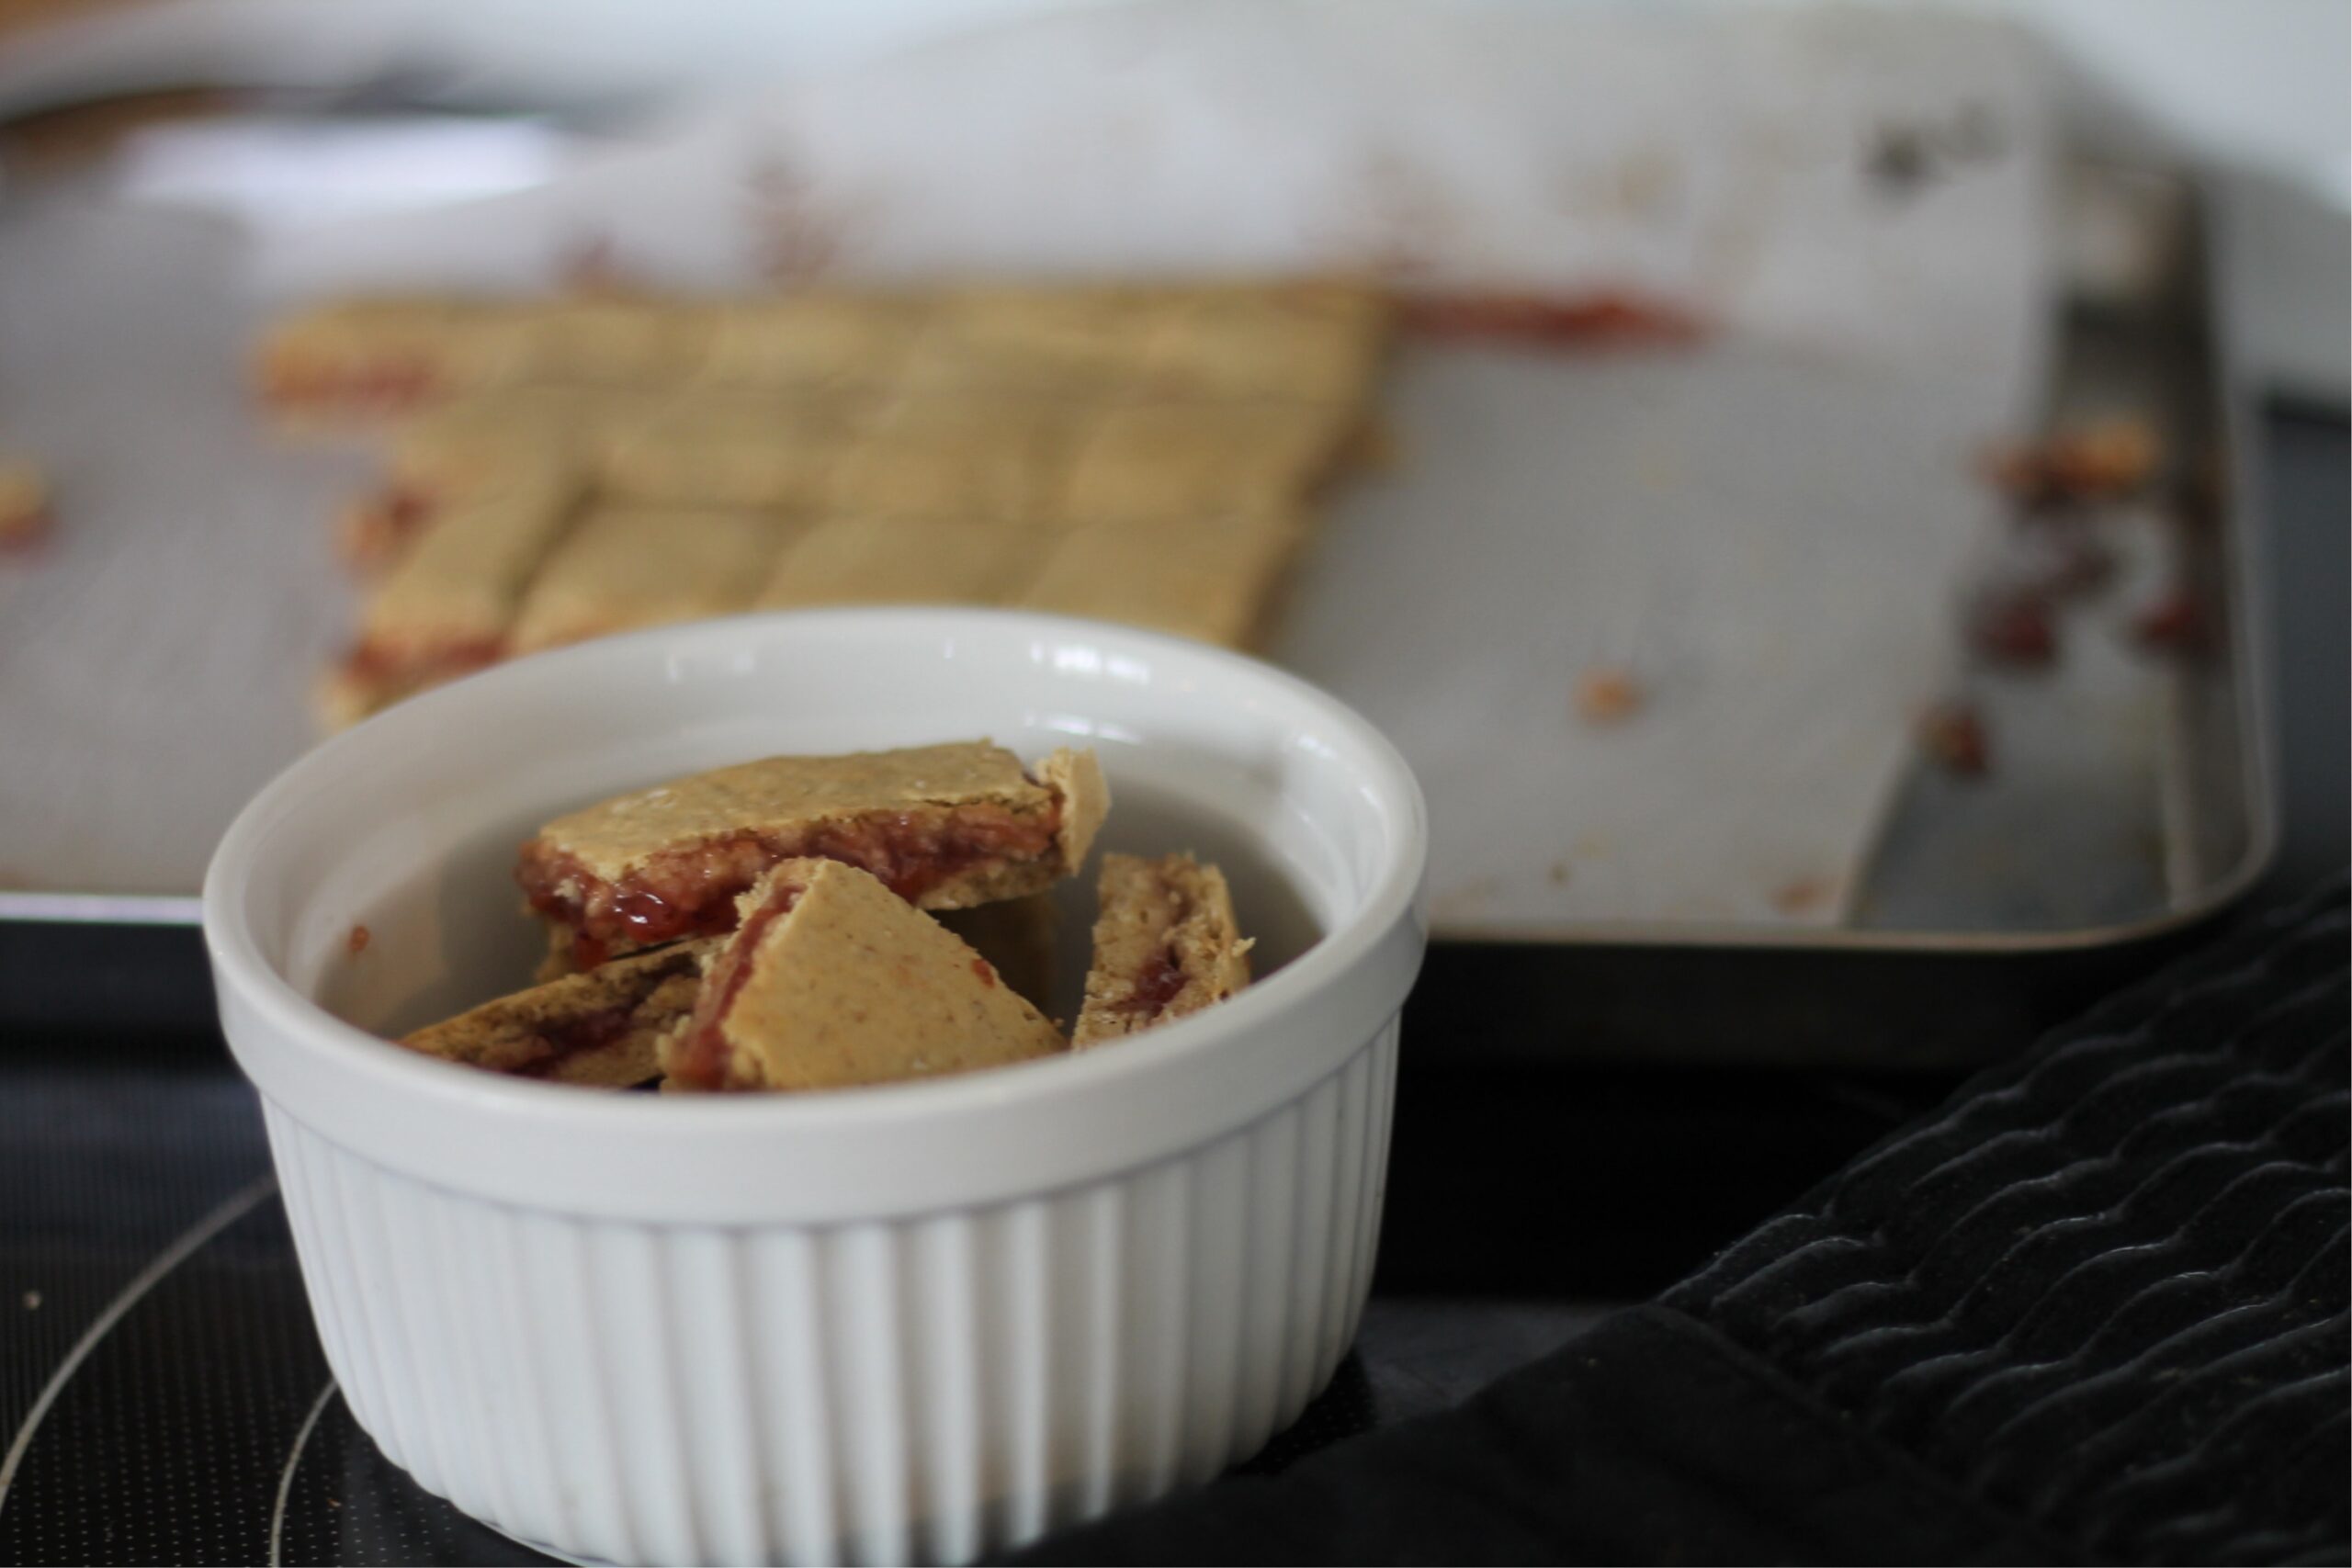
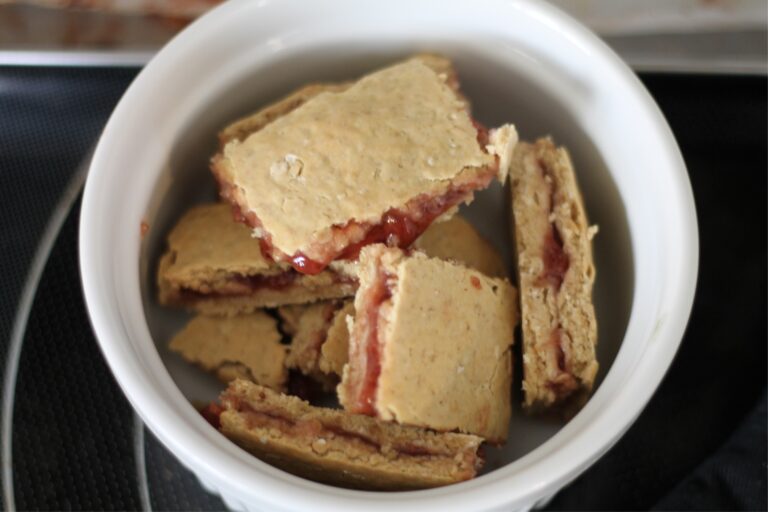
Vegan Nutrigrain Bars
These Vegan Nutrigrain bars are soft, chewy snack bars made with a whole grain oat base and filled with a fruit-flavored filling, such as strawberry, apple, or blueberry. They have a slightly sweet taste and a hearty texture, with the outer layer being made from a blend of oats, gluten free flour, and some maple syrup. The filling provides a burst of fruity flavor and moisture, making the bars both satisfying and portable. Often marketed as a healthy snack, Nutrigrain bars are commonly seen as a convenient option for breakfast or on-the-go eating, with a focus on being a source of fiber and whole grains.
History of Nutrigrain Bars
Nutrigrain bars were first introduced by the Kellogg Company in 1992. The brand was created as part of Kellogg’s strategy to expand into the snack bar market, particularly with a product that could appeal to health-conscious consumers looking for a convenient, nutritious option for breakfast or a mid-day snack.
The Original Idea
The original idea behind Nutrigrain bars was to offer a wholesome, easy-to-eat bar made with whole grains and fruit filling, marketed as a healthier alternative to more sugary snack bars. The combination of oats, wheat, and fruit aimed to provide a good source of fiber and energy, which resonated with busy individuals seeking a quick, nutritious bite.
Nutrigrain bars quickly became popular due to their portability and perceived health benefits, as well as their variety of flavors. Over the years, the product line expanded to include different flavors, such as apple cinnamon, blueberry, and strawberry, along with variations like low-fat or gluten-free options.
Today, Nutrigrain bars remain a staple in the snack bar market and are often marketed as a convenient and healthier snack choice for families, especially for those with busy lifestyles. If you want to find out more about the history of title, here is where I found my information!
This post may contain affiliate links. See full disclosure here.
Ingredients & Substitutes
- 1 1/2 cup gluten free quick oats
- 2 1/2 cups gluten free flour
- 1 tsp baking soda
- 1/4 tsp salt
- 1/4 cup vegan soy free butter, OR homemade
- 1/2 cup maple syrup
- 1 cup non dairy milk
- 1 1/2 cup jam of choice, we like using strawberry
How to Make Nutrigrain Bars
Preheat the oven to 370°F.
Combine all ingredients until the dough begins to come together.
Split the dough in half and roll out one portion on parchment paper into an 11×15” rectangle. Repeat with the second half, but this time on a large baking sheet lined with parchment paper.
Spread jam over the dough on the baking sheet.
Next, carefully flip the other dough layer onto the jam. To do this, align the shorter sides of both dough pieces, then gently lift the parchment and flip the dough 180 degrees onto the jam. Don’t worry if it doesn’t work perfectly the first time—it took me a little practice, so just roll the dough out again if needed and try again.
Bake for 12-15 minutes, or until the edges start to turn golden.
Cut into 30-40 bars and let cool for about 20 minutes. Store in an airtight container in the fridge for up to 2 weeks.
Common Questions
1. Can I use a different type of jam or fruit filling?
Yes, you can use any type of jam or fruit preserves that you like. Popular choices include strawberry, blueberry, raspberry, or even apple cinnamon. Just make sure the jam isn’t too runny, as it could affect the texture of the bars.
3. How do I store homemade Nutrigrain bars?
Store the bars in an airtight container at room temperature for up to 3 days, or refrigerate them for up to 2 weeks. You can also freeze them for longer storage, up to 3 months. Just be sure to wrap them individually or place parchment paper between layers to prevent sticking.
5. What can I use instead of parchment paper?
If you don’t have parchment paper, you can use a silicone baking mat or lightly grease the baking sheet. However, parchment paper helps with easy removal and cleanup, so it’s the best option.
6. How can I make these bars healthier?
To make the bars healthier, you can add flax seeds, chia seeds to the dough to increase the nutritional value. You can also add more non dairy milk and decrease the maple syrup.
7. How do I prevent the dough from sticking when flipping?
If you’re having trouble with the dough sticking to the parchment paper, try lightly flouring the paper or chilling the dough for a few minutes before flipping. This can help the dough firm up and prevent it from sticking.
8. Can I add other ingredients like nuts or seeds to the bars?
Yes, you can add nuts like almonds or walnuts (if you’re not allergic), or seeds such as chia or sunflower for added texture and nutrition. Just make sure to chop them up finely so they don’t interfere with the structure of the bars.
9. How thick should the dough be when rolling it out? The dough should be about 1/8 to 1/4 inch thick when rolled out. This ensures the bars bake evenly and are not too thick or too thin.
10. Why are my bars too soft or soggy? If the bars are too soft or soggy, it could be due to too much jam or underbaking. Make sure to spread a thin layer of jam and bake the bars long enough for the edges to begin to turn golden.
Other Favorite Allergy Friendly Snack Recipes HERE


Vegan Nutrigrain Copycat (Gluten, Soy, and Nut Free)
Ingredients
- 1 1/2 cup gluten free quick oats
- 2 1/2 cups gluten free flour
- 1 tsp baking soda
- 1/4 tsp salt
- 1/4 cup vegan soy free butter, OR homemade
- 1/2 cup maple syrup
- 1 cup non dairy milk
- 1 1/2 cup jam of choice, we like using strawberry

Instructions
- Preheat oven to 370F.
- Mix all ingredients together till dough starts to stick together.
- Divide dough in half & roll out 1/2 of the dough on parchment paper, into a 11×15” rectangle. Do the same with the other half, this time on a large baking sheet lined with parchment.
- Spread Jam onto the half on the baking sheet.
- Then carefully flip the other layer of dough off the parchment and onto the jam. (The best way to do this is to line up the shorter ends of dough side by side. Then, gently lift up the parchment, till you do a 180 degree flip onto the jam. Don’t worry if you don’t get it the first time. It took me a little practice. If you don’t get it the first time, roll out the dough and try again.)
- Bake for 12-15 mins, or till edges are beginning to golden.
- Cut into 30-40 bars and let cool for 20 mins. Then place in an airtight container in the fridge, for up to 7 days, OR freezer for up to 3 months.