

Top 9 Allergen-Free Nilla Wafers (Crispy, Classic, and Completely Inclusive)
If you’ve ever missed the nostalgic taste of classic vanilla wafers but needed something safe for food allergies, you’re going to love this recipe. These Top 9 allergen-free Nilla wafers are light, crisp, subtly sweet, and packed with warm vanilla flavor—without gluten, dairy, eggs, nuts, soy, or any of the major allergens.
Whether you’re baking for your family, a party, or just want a safe homemade alternative to store-bought cookies, this recipe delivers that familiar flavor and texture with simple, accessible ingredients.
Why You’ll Love These Allergen-Free Nilla Wafers
There’s something comforting about a vanilla wafer. They’re simple, versatile, and perfect for everything from snacking to layering in desserts like banana pudding. But traditional versions often contain multiple allergens.
This recipe changes that.
These cookies are:
- Top 9 allergen-free
- Gluten-free
- Dairy-free
- Egg-free
- Nut-free
- Soy-free
- Light and crispy, just like the original
- Easy to make with pantry staples
Even better, they hold up beautifully in recipes—so yes, you can finally make a safe banana pudding again.
Ingredients Breakdown
Let’s take a closer look at why each ingredient works so well in this recipe:
Dry Ingredients
- 1 cup gluten-free oat flour
This forms the base of the cookie, providing a mild, slightly sweet flavor and soft crumb. - ¼ cup tapioca starch
The secret to crispness. Tapioca helps create that signature snap when you bite into the wafer. - 2 tbsp potato starch
Adds structure and keeps the cookies light instead of dense. - ¼ tsp xanthan gum
Acts as a binder since there are no eggs or gluten. - ¼ tsp salt
Balances sweetness and enhances flavor. - ¼ cup powdered sugar
Gives the cookies a fine, delicate texture and smooth sweetness.
Wet Ingredients
- 3 tbsp neutral oil (sunflower, canola, or avocado)
Adds moisture and richness without overpowering the vanilla flavor. - 2 tbsp non-dairy milk (oat or rice)
Helps bring the dough together and keeps it soft enough to pipe or scoop. - 2 tsp pure vanilla extract
The star of the show—don’t skimp here! - Optional: ¼ tsp vanilla bean powder
For an extra punch of real vanilla flavor and those beautiful specks.
How to Make Allergen-Free Nilla Wafers
Step 1: Preheat and Prep
Preheat your oven to 350°F (175°C) and line a baking sheet with parchment paper.
Step 2: Mix Dry Ingredients
In a bowl, whisk together:
- oat flour
- tapioca starch
- potato starch
- xanthan gum
- salt
- powdered sugar
Make sure everything is evenly combined—this ensures consistent texture.
Step 3: Add Wet Ingredients
Add the oil, non-dairy milk, vanilla extract, and optional vanilla bean powder.
Mix until a soft dough forms. It should be slightly sticky but pipeable.
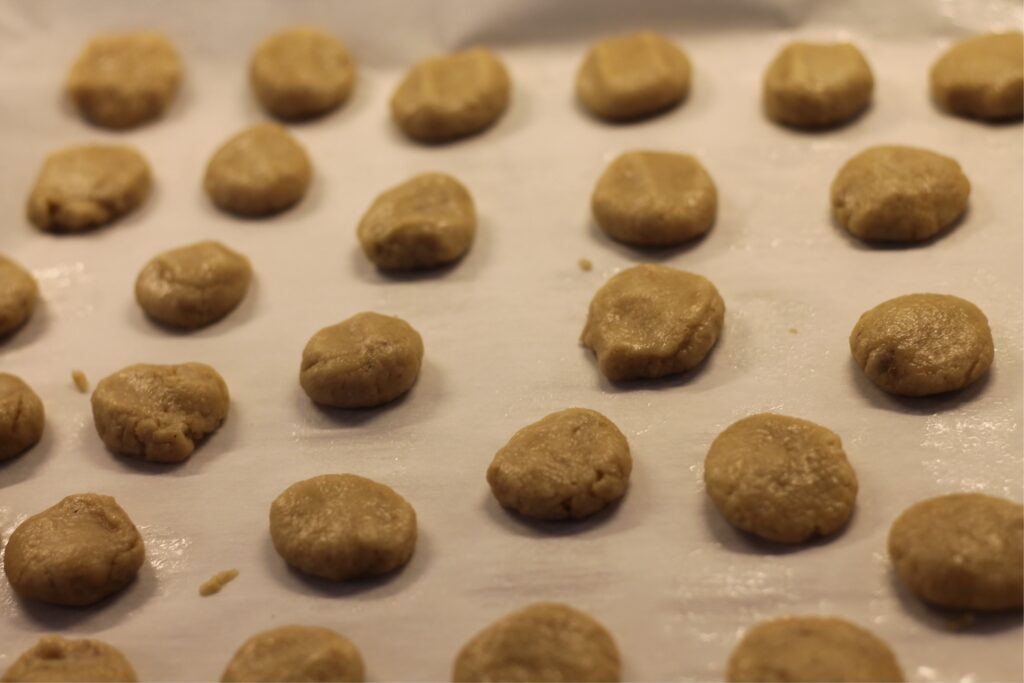
Step 4: Shape the Cookies
Transfer the dough to a piping bag or use a small spoon to drop ½–1 teaspoon-sized rounds onto your baking sheet.
Leave a little space between each cookie—they will spread slightly.
Step 5: Bake
Bake for 10–12 minutes, or until the edges are lightly golden.
For extra crispness, you can bake an additional 1–2 minutes, watching carefully to avoid over-browning.
Step 6: Cool Completely
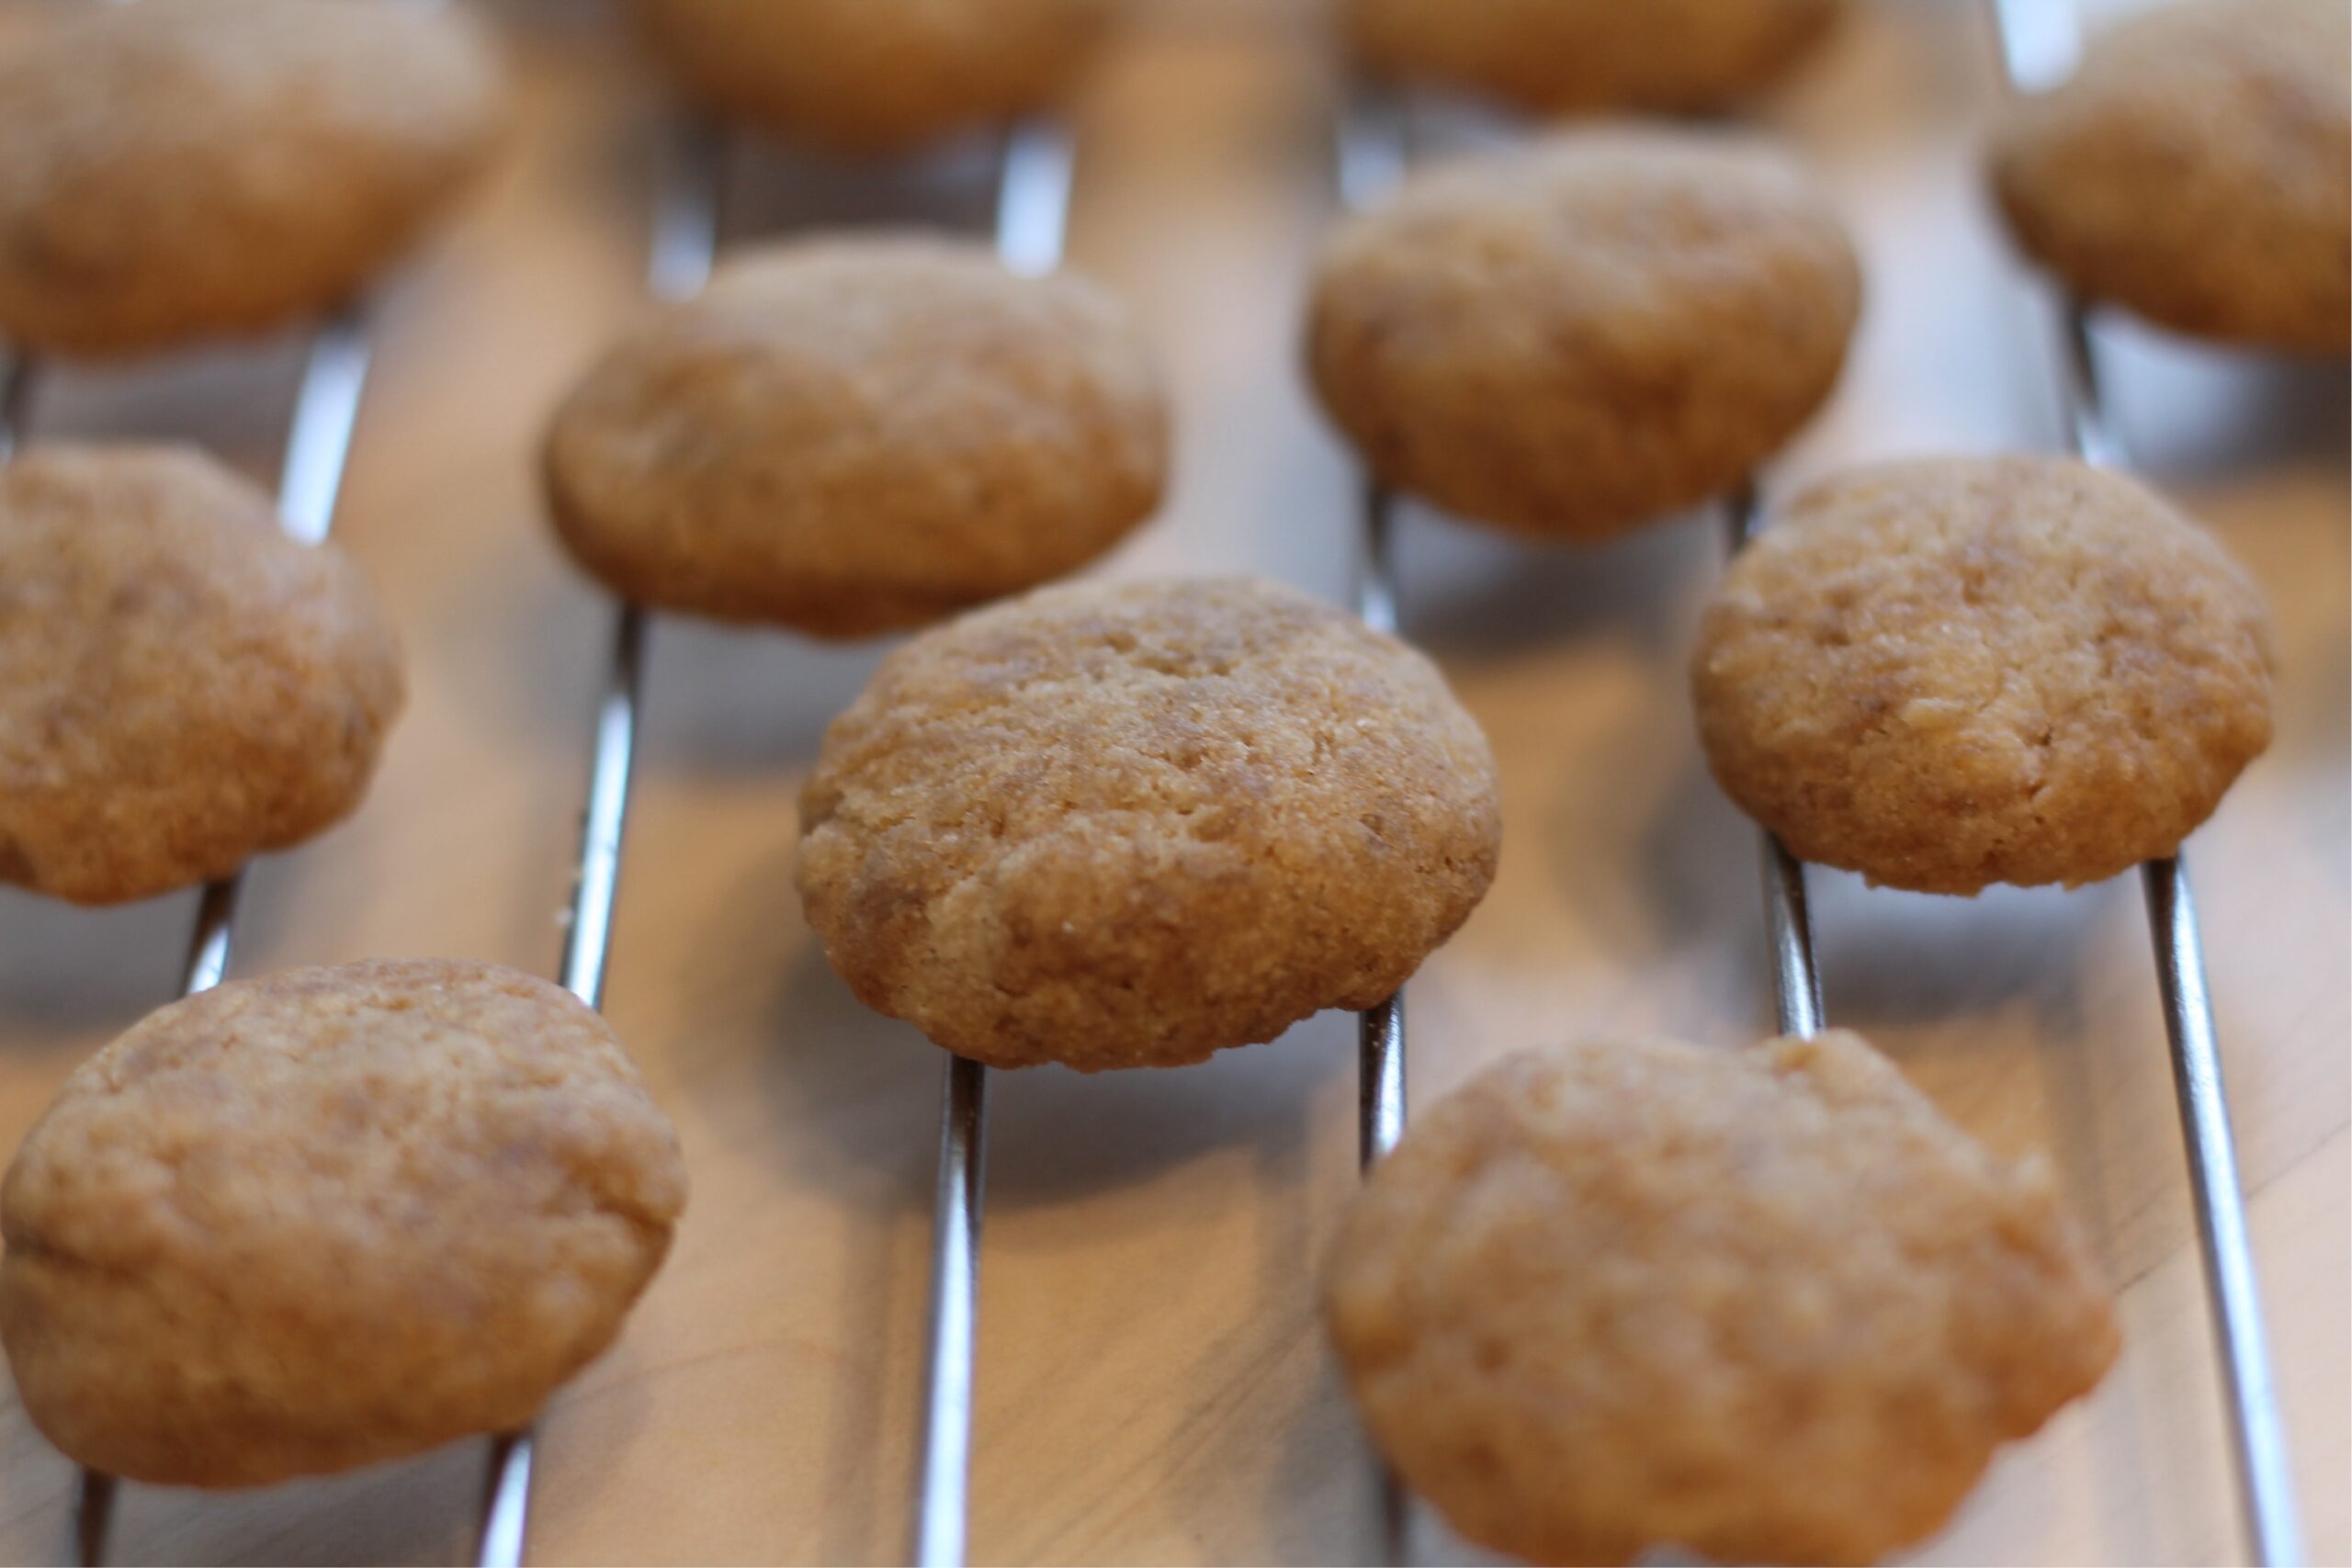
Let the cookies cool on the baking sheet for a few minutes, then transfer to a rack.
They will crisp up as they cool—this is key to getting that classic wafer texture.
Tips for Perfect Nilla Wafers
- Don’t overbake too early
They may seem soft straight out of the oven, but they firm up as they cool. - Keep them small
Traditional Nilla wafers are bite-sized—this also helps them crisp properly. - Use a piping bag for uniformity
This gives you that classic round, smooth look. - Let them cool fully before storing
Trapping heat can make them soft instead of crisp.
Storage Tips
- Store in an airtight container at room temperature for up to 5 days
- For longer storage, freeze for up to 2 months
- If they soften, re-crisp in the oven at 300°F for 3–5 minutes
Ways to Use These Nilla Wafers
These aren’t just for snacking (though they’re amazing on their own). Here are some fun ways to use them:
1. Allergen-Free Banana Pudding
Layer with dairy-free pudding and fresh bananas for a safe, nostalgic dessert.
2. Cookie Crust
Crush and mix with a little oil to create a pie or cheesecake crust.
3. Ice Cream Sandwiches
Use two cookies with a scoop of dairy-free ice cream in between.
4. Lunchbox Treat
Perfect for kids or adults needing allergy-safe snacks.
Troubleshooting
Cookies didn’t spread?
Your dough may be too thick—add 1–2 teaspoons more non-dairy milk.
Not crispy enough?
Bake slightly longer or let them cool longer—they crisp as they sit.
Too crumbly?
Double-check your measurements, especially the xanthan gum and liquid.
Customization Ideas
Want to switch things up? Try these variations:
- Lemon wafers: Add ½ tsp lemon zest
- Maple vanilla: Replace 1 tsp vanilla with maple extract
- Cinnamon sugar: Sprinkle tops before baking
Final Thoughts
Finding a truly Top 9 allergen-free cookie that actually tastes like the original can feel impossible—but these vanilla wafers prove it doesn’t have to be.
They’re crisp, sweet, and full of real vanilla flavor, with a texture that holds up beautifully in desserts or on their own. Whether you’re baking for allergies or just looking for a cleaner homemade option, this recipe is one you’ll come back to again and again.
Print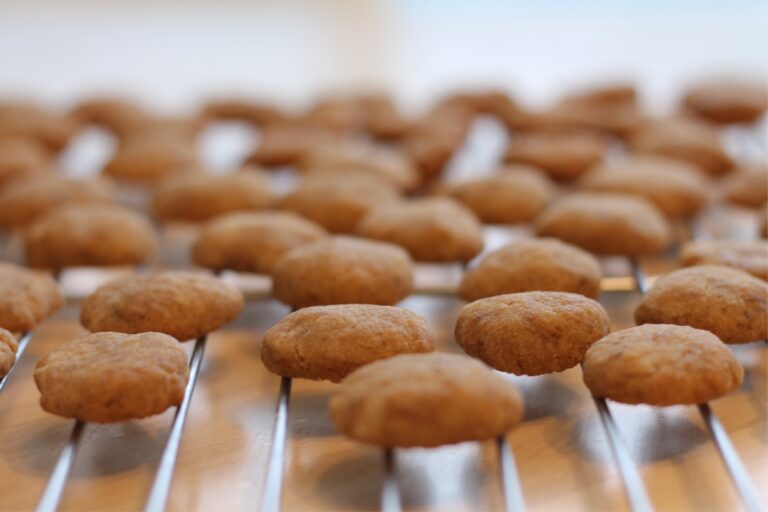
Gluten Free, Vegan Nilla Wafers
- Yield: 38–42 wafers 1x
Ingredients
Dry Ingredients
- 1 cup gluten-free oat flour
- ¼ cup tapioca starch (for crispness)
- 2 tbsp potato starch (for structure and lightness)
- ¼ tsp xanthan gum
- ¼ tsp salt
- ¼ cup powdered sugar
Wet Ingredients
- 3 tbsp neutral oil (sunflower, canola, or avocado)
- 2 tbsp non-dairy milk (oat or rice)
- 2 tsp pure vanilla extract
- Optional: ¼ tsp vanilla bean powder for extra vanilla punch
Instructions
- Preheat oven to 350°F (175°C) and line a baking sheet with parchment.
- Mix dry ingredients: oat flour, tapioca starch, potato starch, xanthan gum, salt, powdered sugar (and vanilla powder if using). Whisk until combined.
- Mix wet ingredients: oil, non-dairy milk, vanilla extract. Whisk lightly until smooth.
- Combine: Pour wet ingredients into dry. Stir until a smooth, soft dough forms. Dough should be soft but not sticky. If too dry, add ½ tsp more non-dairy milk.
- Shape cookies: Scoop ~1 tsp dough per cookie. Roll into small balls and place 1 inch apart on the baking sheet. Flatten slightly with fingers or bottom of a glass to create thin wafers.
- Bake: 10–12 minutes until edges are lightly golden. Watch carefully—thin wafers brown quickly.
- Cool completely: They crisp as they cool.