
Gluten Free Vegan Bread Flour Mix
Today I am going to talk about how to make your own gluten free bread flour mix for breads made with yeast. Regular all-purpose gluten free flour blends don’t work super well when making yeast bread loaves, so that’s why I have created this recipe! But, if you’re looking for an all-purpose gluten free flour blend for all other baked foods, then go here!
My Journey
When I first started baking gluten-free, I was constantly frustrated. The brand I could consistently find wasn’t working for a lot of my recipes, making things too gummy. And Every brand of gluten free all purpose flour mix acted differently. Some made cookies spread too far. Others left pancakes dense and gummy. I’d follow a recipe exactly, only to end up with something disappointing. It didn’t take long to realize that the problem wasn’t my technique—it was the flour.
Most store-bought gluten-free blends aim to be one-size-fits-all. But gluten-free baking isn’t that simple. You need a mix that behaves predictably and works well in the recipes you make. I wanted consistency. I wanted to know that when I measured a cup of flour, I wouldn’t be gambling with the results.
So, I started making my own. At first, it felt very intimidating. I didn’t know which flours did what. But once I began learning how different starches and proteins affect texture and structure, it got easier.
Making my own gluten-free flour also saved money. The specialty blends at the store can get expensive, especially if you’re baking often. Buying the ingredients in bulk and mixing them myself turned out to be way more affordable in the long run. I could make 10 cups at a time, store it in a big airtight container, and always have it on hand.

The “Why’s” of Flour Mixes
Why Gluten-Free Flours Need to Be Finely Milled
If you’ve ever baked gluten-free, you know it’s not as simple as swapping one flour for another. Gluten-free flours behave differently. They’re missing the structure that gluten provides. That’s where milling comes in. When you start with finely milled flour, you’re setting yourself up for a smoother dough, a lighter crumb, and a better final product. It really makes all the difference.
The finer the grind, the better the starches can absorb moisture. That means your batter or dough hydrates more evenly. No gritty texture, no clumps, and fewer issues with dry or crumbly bakes. If you’ve had a cookie fall apart before it made it to your mouth, odds are the flour was too coarse.
Plus, finely milled flours blend more easily with other ingredients. Since gluten-free baking relies on combining multiple flours and starches, this matters a lot. You need everything to behave as one unified flour blend. That’s hard to do when one flour feels like sand and another feels like powder.
Another perk? Finer flour makes your batter more stable. It helps reduce spreading in cookies, collapsing in cakes, or rubbery middles in quick breads. I’ve had my share of baking fails, and they almost always tracked back to coarsely milled flour. So, if you want gluten-free flour to work like a true substitute, go fine. It’s worth the extra cost, and once you taste the difference, there’s no going back.
Now, let’s look at why vegan milk powder matters so much in a gluten-free bread blend.
Why Vegan Isolate Helps Gluten-Free Bread Perform
Here’s a detail many overlook: vegan milk powder. But trust me, it’s a game changer in gluten-free bread flour blends.
Vegan isolate powder isn’t just about replacing dairy. It adds body and richness to baked goods. It helps recreate that tender softness we expect from wheat-based recipes. Gluten does a lot of work in traditional baking, so when it’s gone, something else needs to step in. That’s where this ingredient shines.
Even more importantly, vegan milk powder supports browning. Ever notice how gluten-free cookies sometimes bake pale and patchy? That’s because many gluten-free flours lack the natural sugars and proteins needed for a golden crust. Vegan milk powder, especially those made from coconut, rice, or oat, helps drive that Maillard reaction. That’s the chemistry behind the golden color and those deliciously toasty notes.
It also helps emulsify fat and water. That means your batter doesn’t split, and the crumb stays soft instead of greasy or dry. You won’t get that weird film some gluten-free bakes leave behind. Everything feels smoother, tastes richer, and holds together better.
When a gluten-free flour blend includes vegan milk powder, it’s not just filling a nutritional gap—it’s fixing a functional one. It’s doing behind-the-scenes work to make your recipes taste more like the real thing. And if you’re dairy-free, it makes the flour more versatile, which is a win all around.
Next, let’s dive into another unsung hero of gluten-free blends: modified tapioca.
Why Modified Tapioca Starch Makes Gluten-Free Bread Better
Tapioca starch shows up in a lot of gluten-free flour blends, and for good reason. It gives stretch, chew, and structure. But not all tapioca starch is created equal. That’s where modified tapioca starch steps in. This ingredient changes everything for bread.
Modified tapioca isn’t bad—it just means it’s been pre-gelatinized or treated to behave differently. That change makes a huge difference in how it performs. When I started baking with blends that used modified tapioca, I finally got the rise I’d been chasing. Bread rose, domed, and fluffed.
This starch holds water better, and that’s a big deal. Gluten-free baking often suffers from dryness. Modified tapioca helps trap moisture inside the dough or batter, keeping the bake soft for longer. If you’ve ever had gluten-free bread go stale after a day, you’ll appreciate this.
It also helps mimic that “pull-apart” texture gluten gives. Think of a soft sandwich bread. Regular tapioca can help a little, but modified tapioca takes it to the next level. It creates elasticity without needing gums in huge amounts.
Plus, it makes mixing easier. Modified tapioca starch swells quickly, thickens reliably, and doesn’t clump. That means fewer mixing issues and more consistent results—batch after batch. For people baking at home, that’s huge. You want predictability.
Why Higher Protein Content Is Essential in Gluten-Free Bread Flour
This is one area I think gets overlooked the most. Traditional gluten-free flour blends often focus on being light and neutral. That’s fine, but without additional vegan protein, you lose a key building block. Higher protein gives gluten-free flours the strength to perform especially with bread.
Think about what gluten does—it creates an elastic network that traps gas from leavening. That’s what gives bread its airy structure, cakes their rise, and cookies their chew. When you take gluten away, you need something else to help support that structure. Protein is your best bet.
Higher protein flour blends help create internal scaffolding. That means better rise, more chew, and a more satisfying bite. When your flour includes a solid protein source, your baked breads stop collapsing in the center.
It also improves the way breads brown and set. Proteins coagulate when heated, helping batter turn into structure. Without enough protein, you risk underbaked middles and overbaked edges. That’s a common gluten-free frustration.
Adding extra protein also boosts satiety. A cookie made with higher-protein flour just fills you up more. It’s more satisfying, not just from a taste perspective, but nutritionally too.
Finally, why use pectin?
Why I Include Pectin in My Gluten-Free Bread Flour Blend
Pectin might sound like something you’d only use in jam, but it’s actually a secret weapon in gluten-free baking. I include pure powdered pectin in my flour blend because it helps with structure, moisture, and shelf life—all things that gluten-free baked goods often struggle with.
Without gluten, baked goods can fall apart or feel dry and crumbly. That’s where pectin steps in. It acts as a gentle binder, working alongside xanthan gum to help hold everything together. It adds a slight stretch and gives your dough a little more flexibility, especially in softer recipes like muffins, cakes, or sandwich bread.
Pectin also helps retain moisture. This is a big deal in gluten-free baking because things tend to dry out faster. Even just a small amount of pectin in the mix can keep baked goods softer for longer and help prevent that dry, crumbly texture a day or two later.
It also makes the texture a little more pleasant—less gritty, more cohesive. And unlike some gums or starches, it doesn’t make things gummy or heavy. It’s especially helpful in blends that include a higher percentage of rice flour or protein powder, where the risk of dryness is higher.
So while it might seem like a tiny ingredient, pectin pulls more weight than you’d expect. It’s one of those subtle additions that makes a noticeable difference in how your gluten-free baked goods feel, taste, and hold up after baking.
Print
Homemade Gluten Free Bread Flour (for breads made with yeast, Top 9 Free)
- Total Time: 5 minutes
- Yield: 10 cups flour (140g per cup) 1x
Ingredients
- 290 g (2 cups + 2 tablespoons) superfine brown rice flour
- 290 g (2 cups + 2 tablespoons) superfine white rice flour
- 135 g (1 cup + 1 tablespoon) tapioca starch
- 130 g (1 cup + 1 tablespoon) potato starch
- 45 g (⅓ cup) potato flour
- 27 g (3 tablespoons + 1 teaspoon) xanthan gum
- 14 g (2 tablespoons + 2 teaspoons) pure powdered pectin
- 135 g (1 cup + 3 tablespoons) modified tapioca starch
- 160 g (1¾ cups + 1 tablespoon) pea protein powder, OR potato protein powder
Instructions
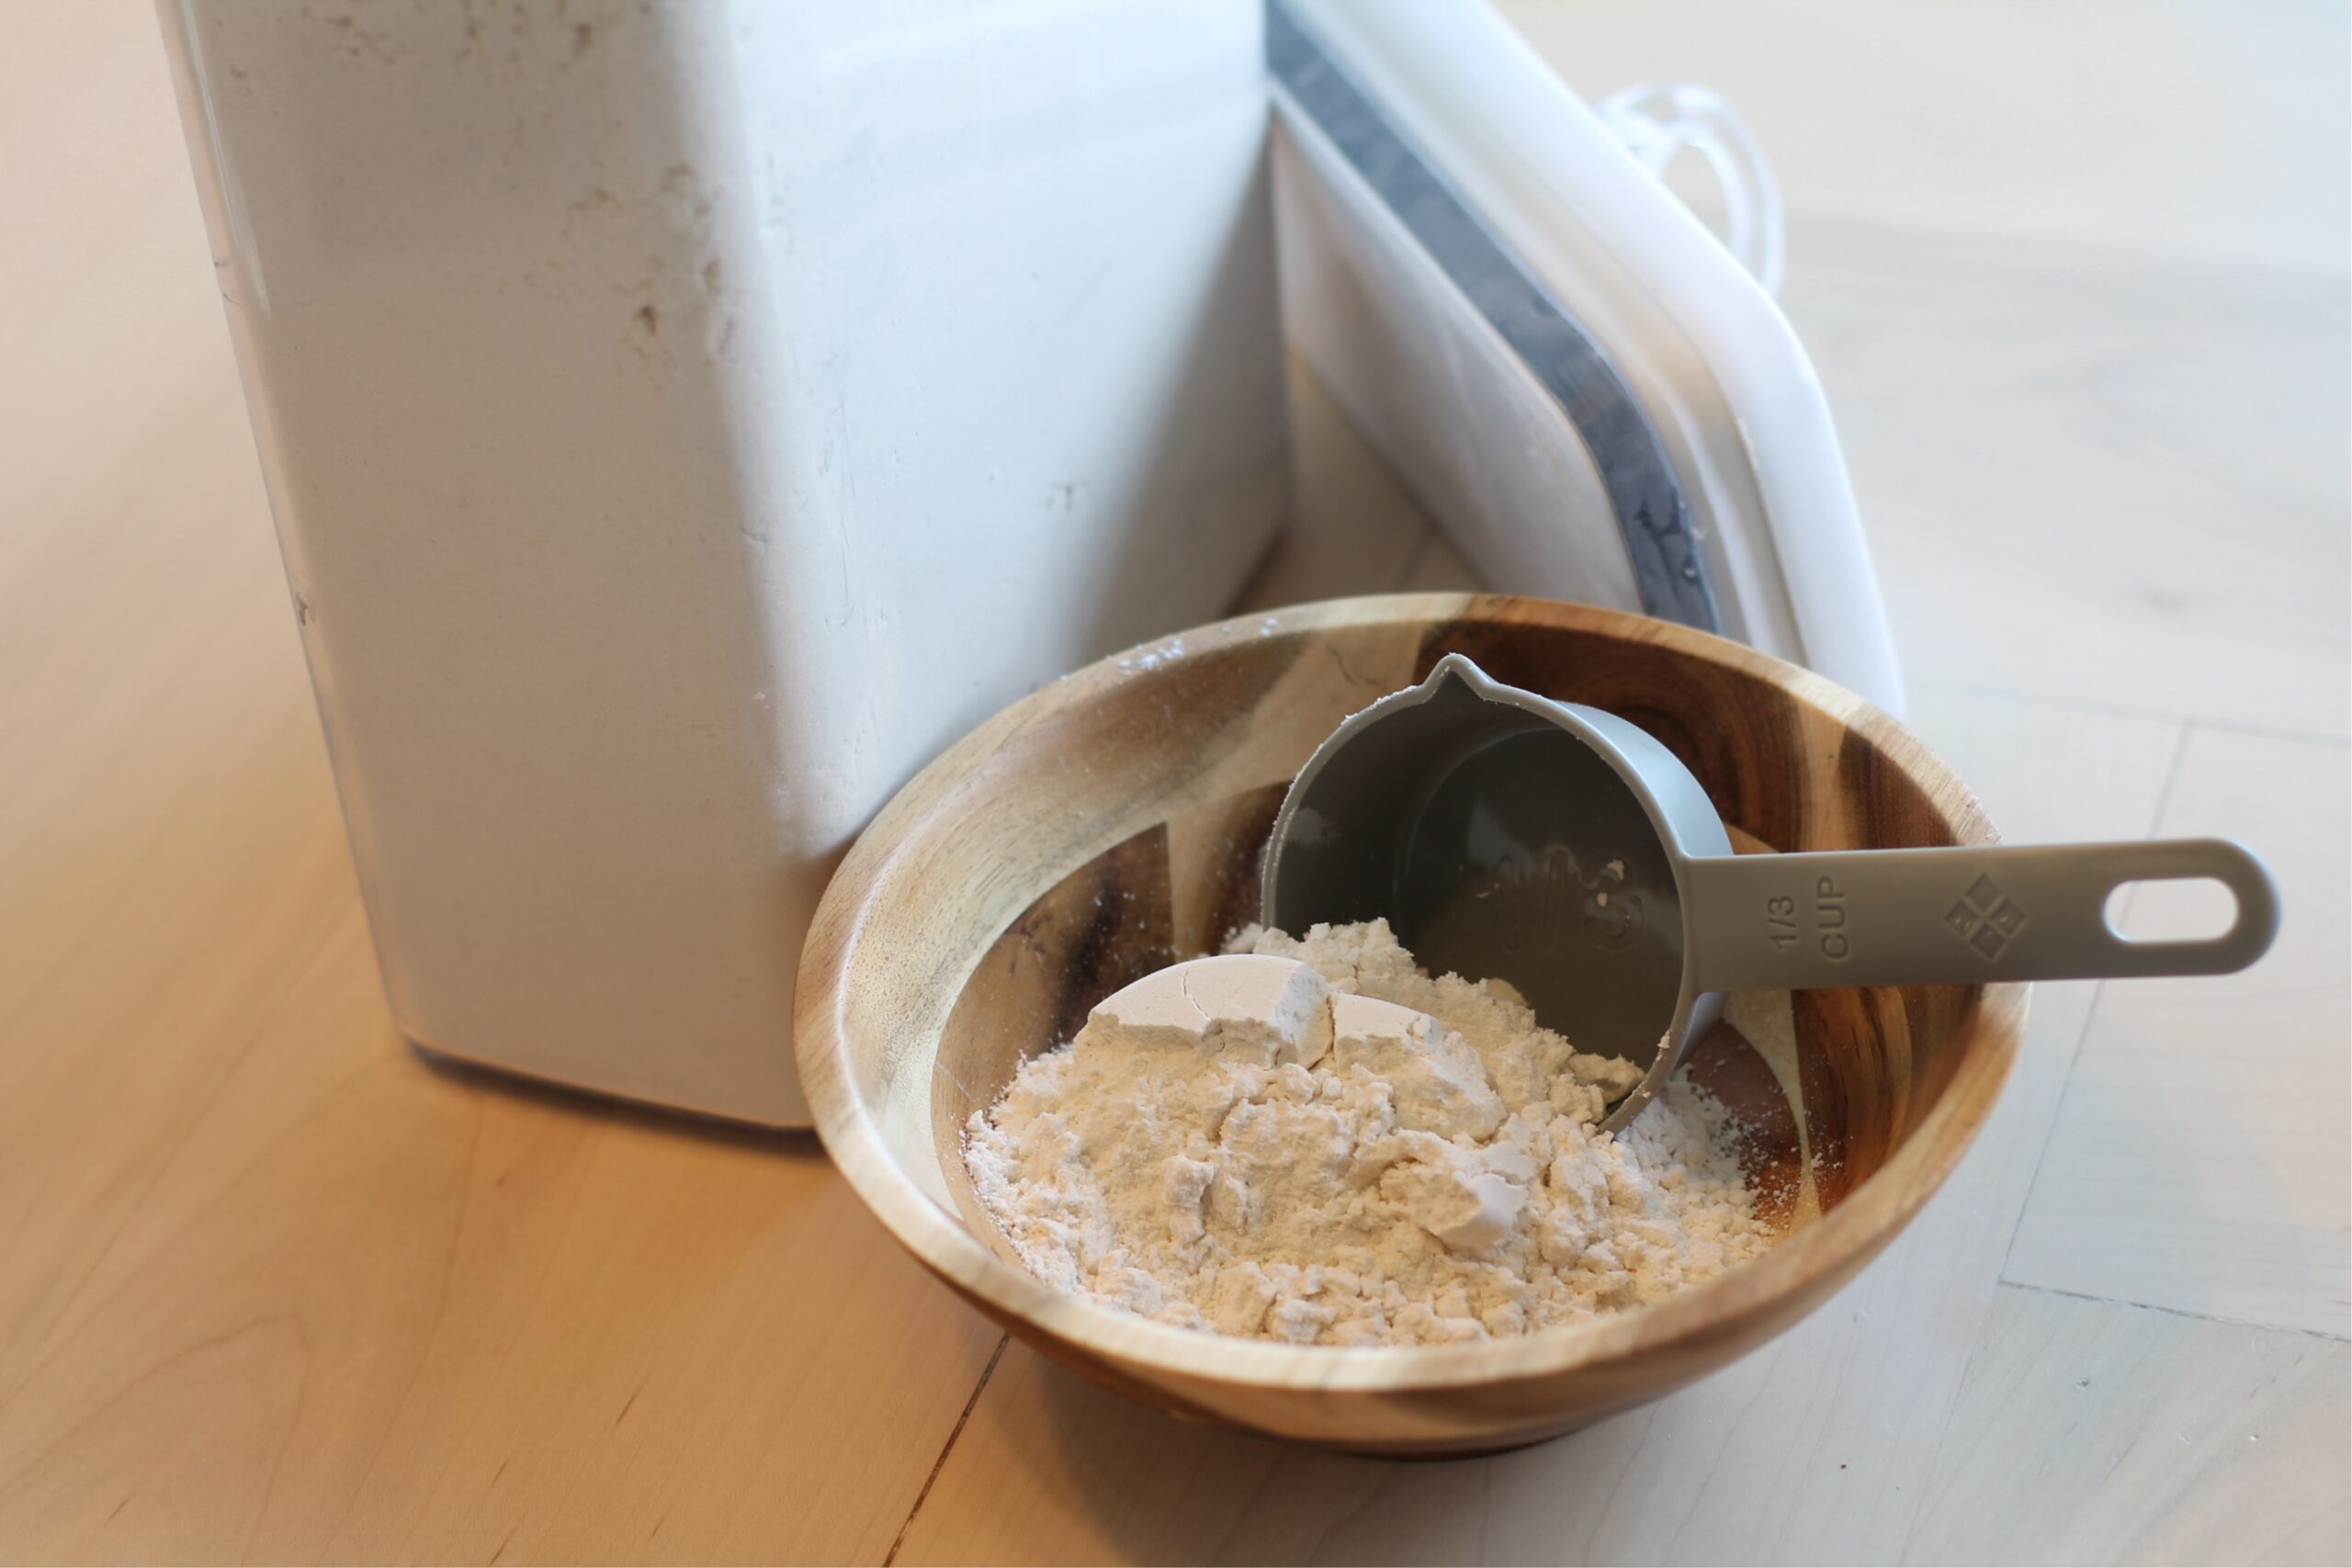
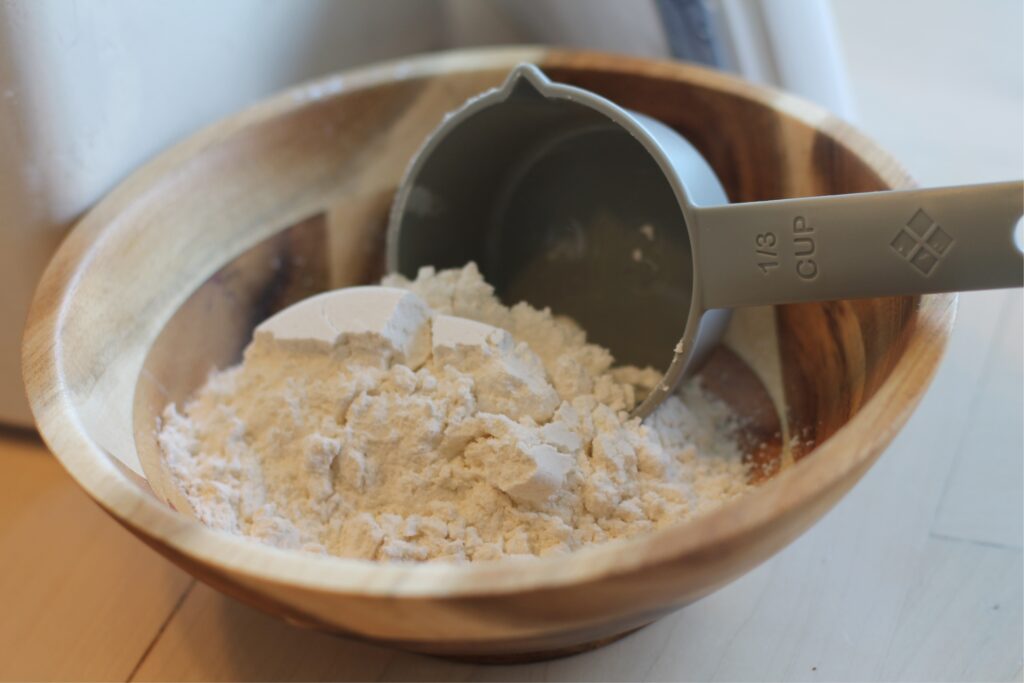
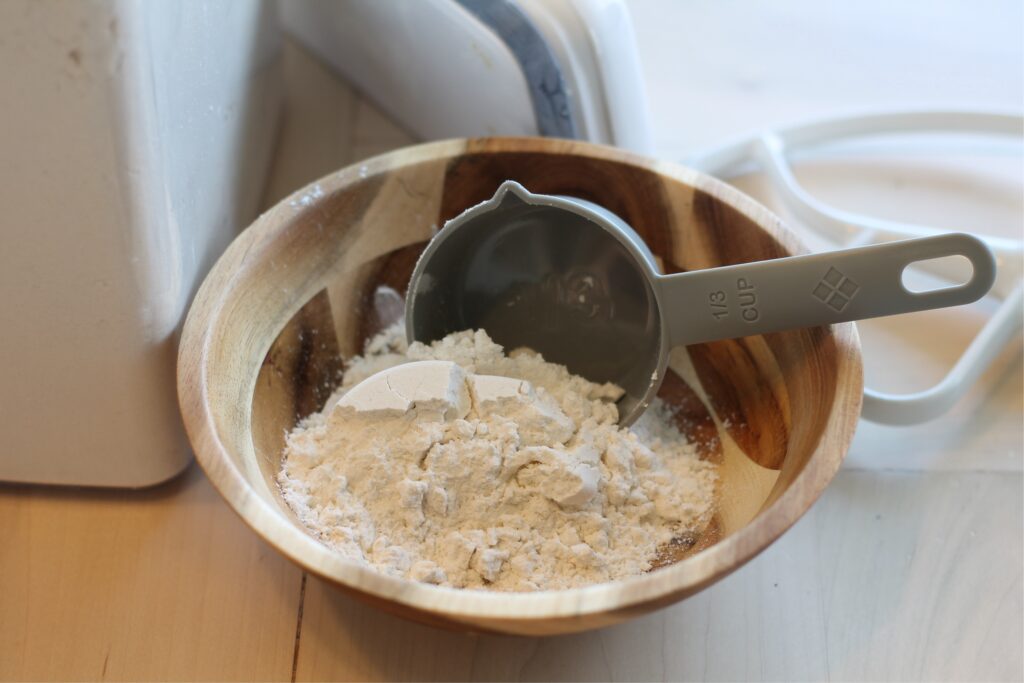
- Add all ingredients to a large mixing bowl, using a digital scale.
- Whisk thoroughly to combine everything evenly. Pay special attention to the gums and pectin so they don’t clump.
- Store in an airtight container, labeled clearly. Keep it in a cool, dry spot for up to 3 months. Refrigerate or freeze for longer storage.
- Stir or shake well before each use. For reference, 140g of the mix is a 1 cup serving.
- Prep Time: 5